Easy, DIY Tasseled Rug for Spring
Hey friends! Thanks for stopping by today! Don’t forget to come find me on Instagram, Facebook and Pinterest AND sign up for my newsletter....You'll be able to keep up on the latest happenings around our home and family!
Today, I'm going to show y'all how to easily make a tasseled rug that will help to bring a touch of Spring into your home! You can change the styles out to fit the colors of your home! But first, have y'all seen all the new DecoArt colors for 2019?!?! Click this direct link to check them out....They're colorful and vibrant!
Let's get started!
Items needed:
Americana Acrylics 2 oz. -- Vintage Pink
Americana Acrylics 2 oz. -- Green Lagoon
Americana Decor stencil -- Tribal Triangle
Paintbrushes
White, canvas fabric (Be sure to wash, dry and prep your fabric to the desired rug size for your project.)
Thick yarn (You can find yarn at your local arts and crafts store.)
Scissors and small book (for consistently-sized tassels)
paper plate (optional)
measuring tape (optional)
fabric medium (optional)
Instructions
Step 1: After you've prepped your fabric for the rug, gather your supplies. I am so in love with these colors....They're the perfect combo for a Spring rug!


Step 2: I only used a portion of the stencil, so if you're planning to do the same, be sure to tape off the fabric underneath the unused part of the stencil to ensure that no unwanted paint bleeds onto your project. You'll also want to secure the stencil with tape, so that it doesn't move while you're painting. ;)


Step 3: Lightly blot the paint over the stencil. Because I wanted the rug to have that "sanded" look, only 1 coat was needed. As soon as you're finished, immediately remove the stencil from your rug. One of the great things about this acrylic paint is that it dries really quickly, and I'm all about getting things done as fast as possible!


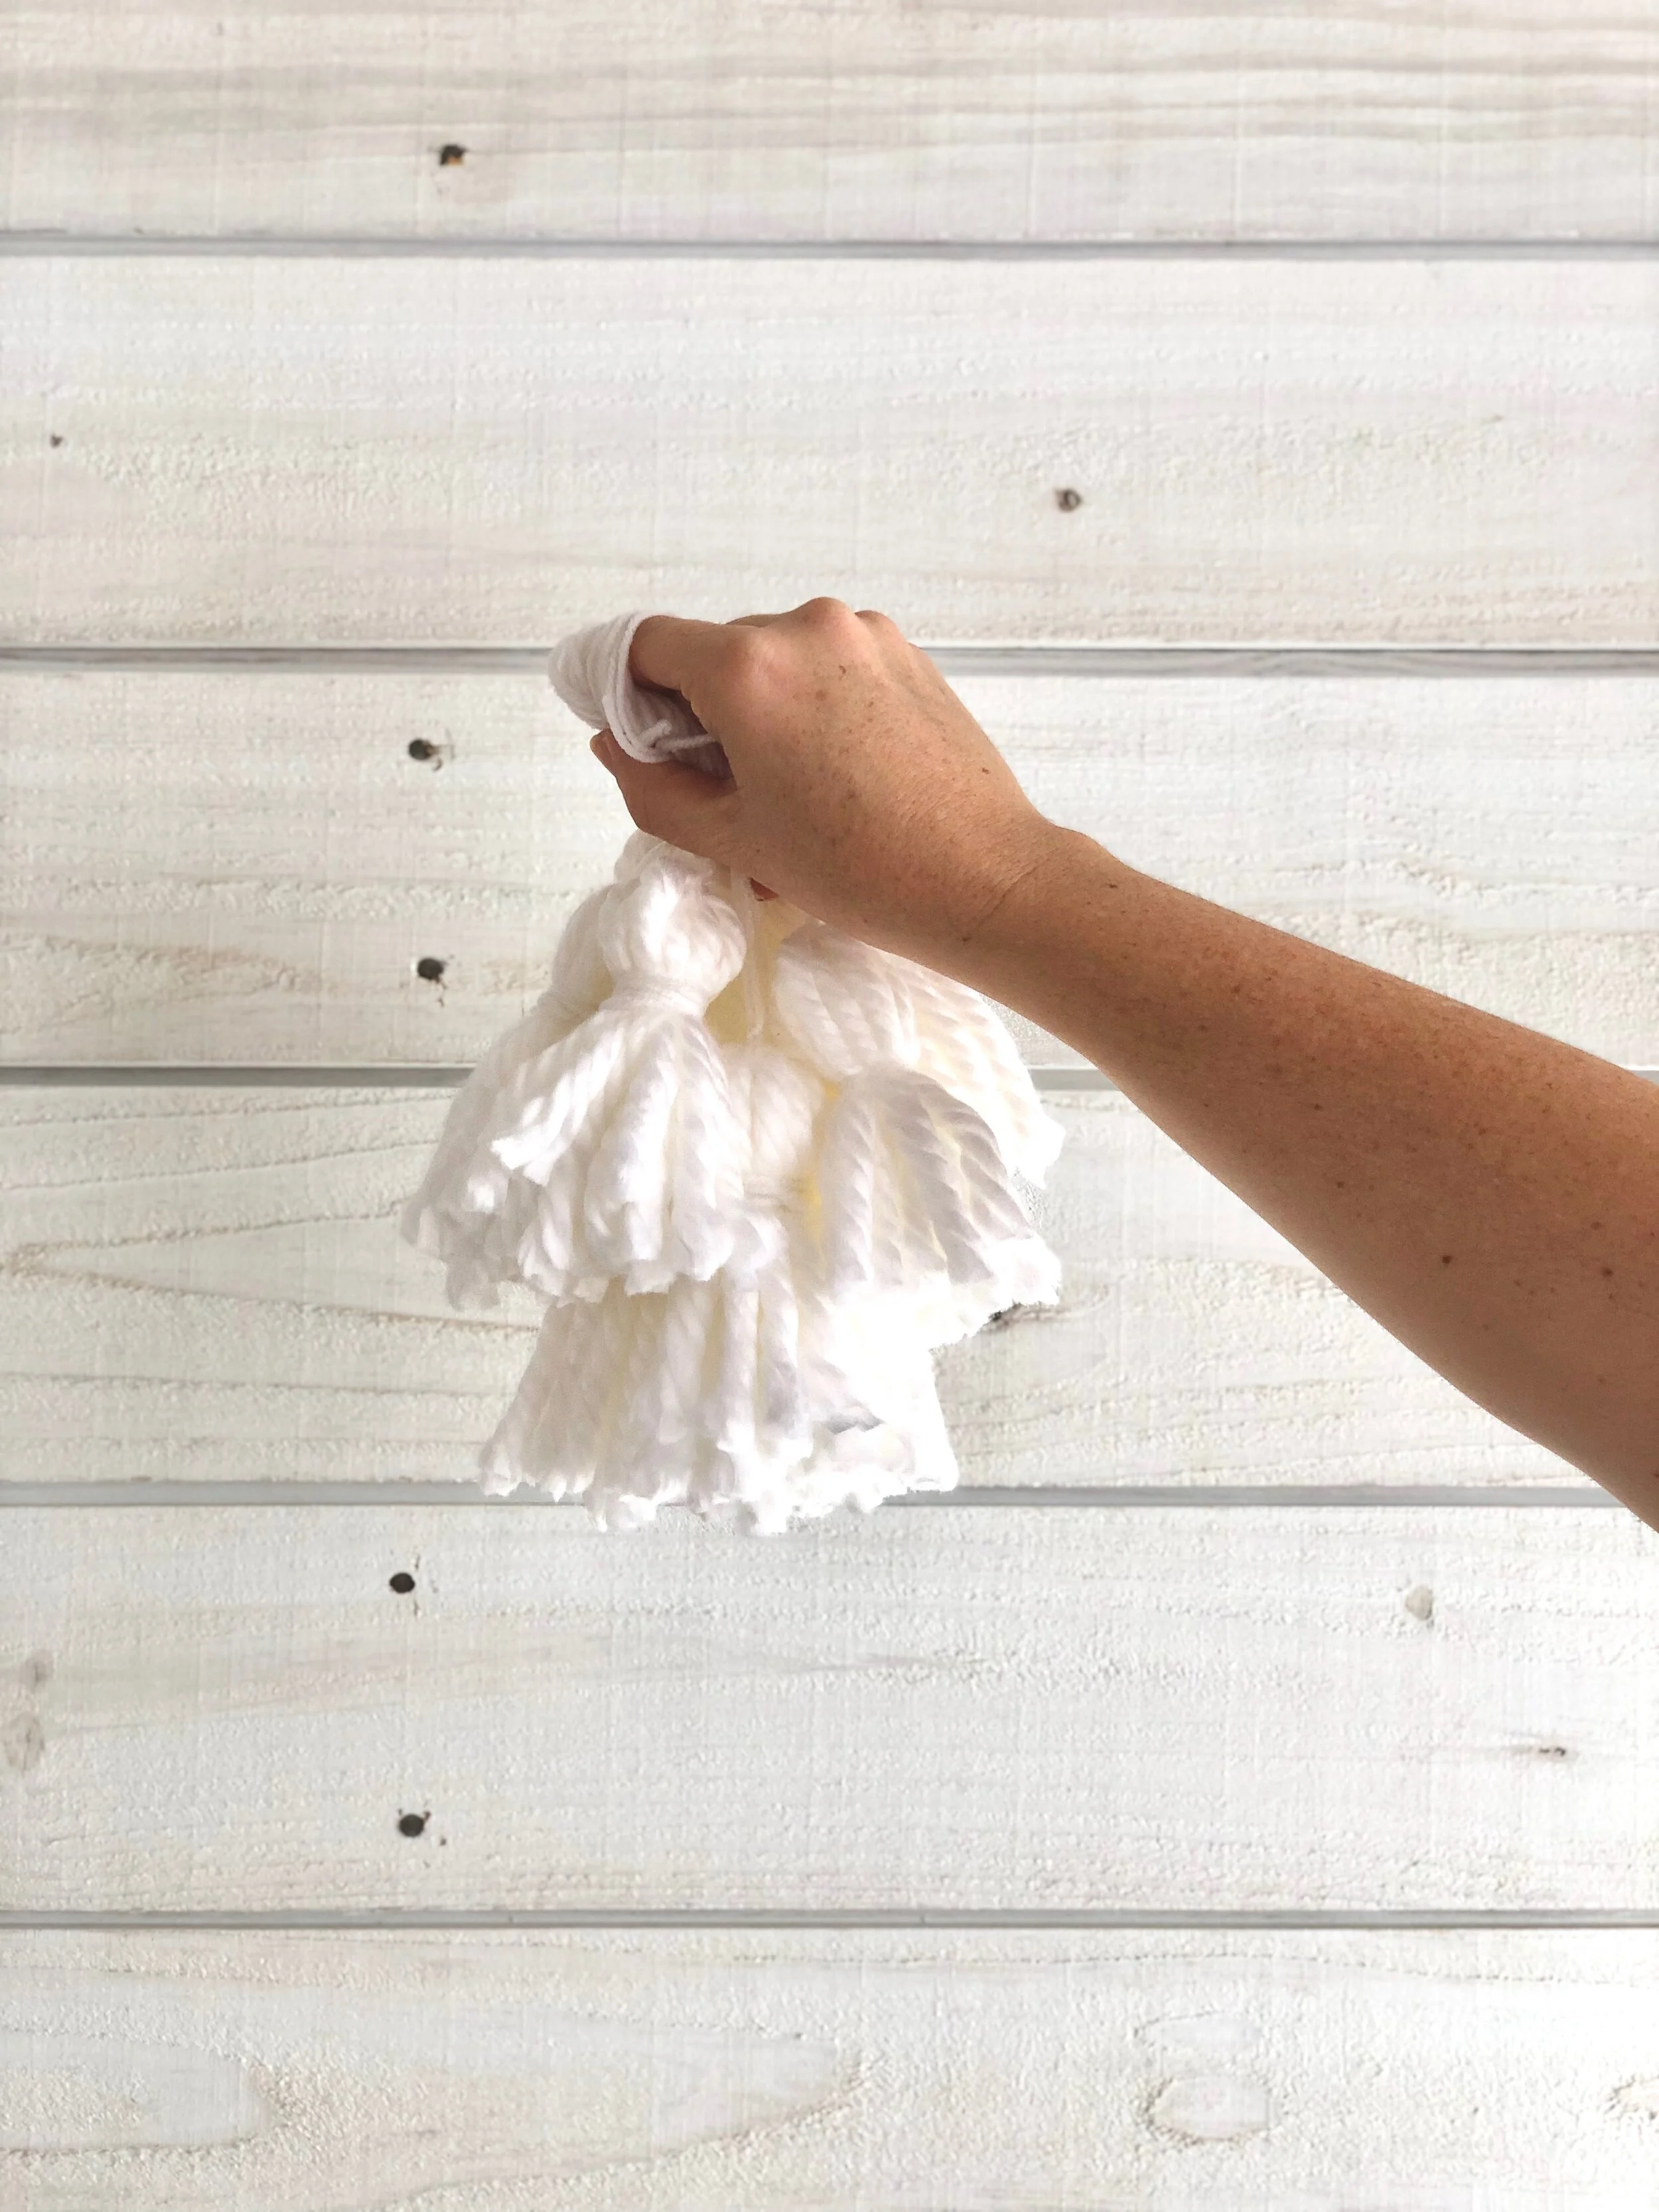
Step 4: Make the tassels. You'll want to use a small book or anything that'll help to keep consistently-sized tassels. For my tassels, I wrapped the yarn 10 times around a notepad. Afterwards, I slid the yarn off the notepad, while pinching the yarn in place. Next, take the skinny yarn (about 6 inches long) and wrap it around the yarn, about 1/3 the length from the top. After tying the skinny yarn around the thick yarn, carefully cut the ends. (If you need more detailed instructions, click this direct link and scroll to the end of the post. You'll read all about how I made jute tassels as part of a Mother's Day gift idea.)
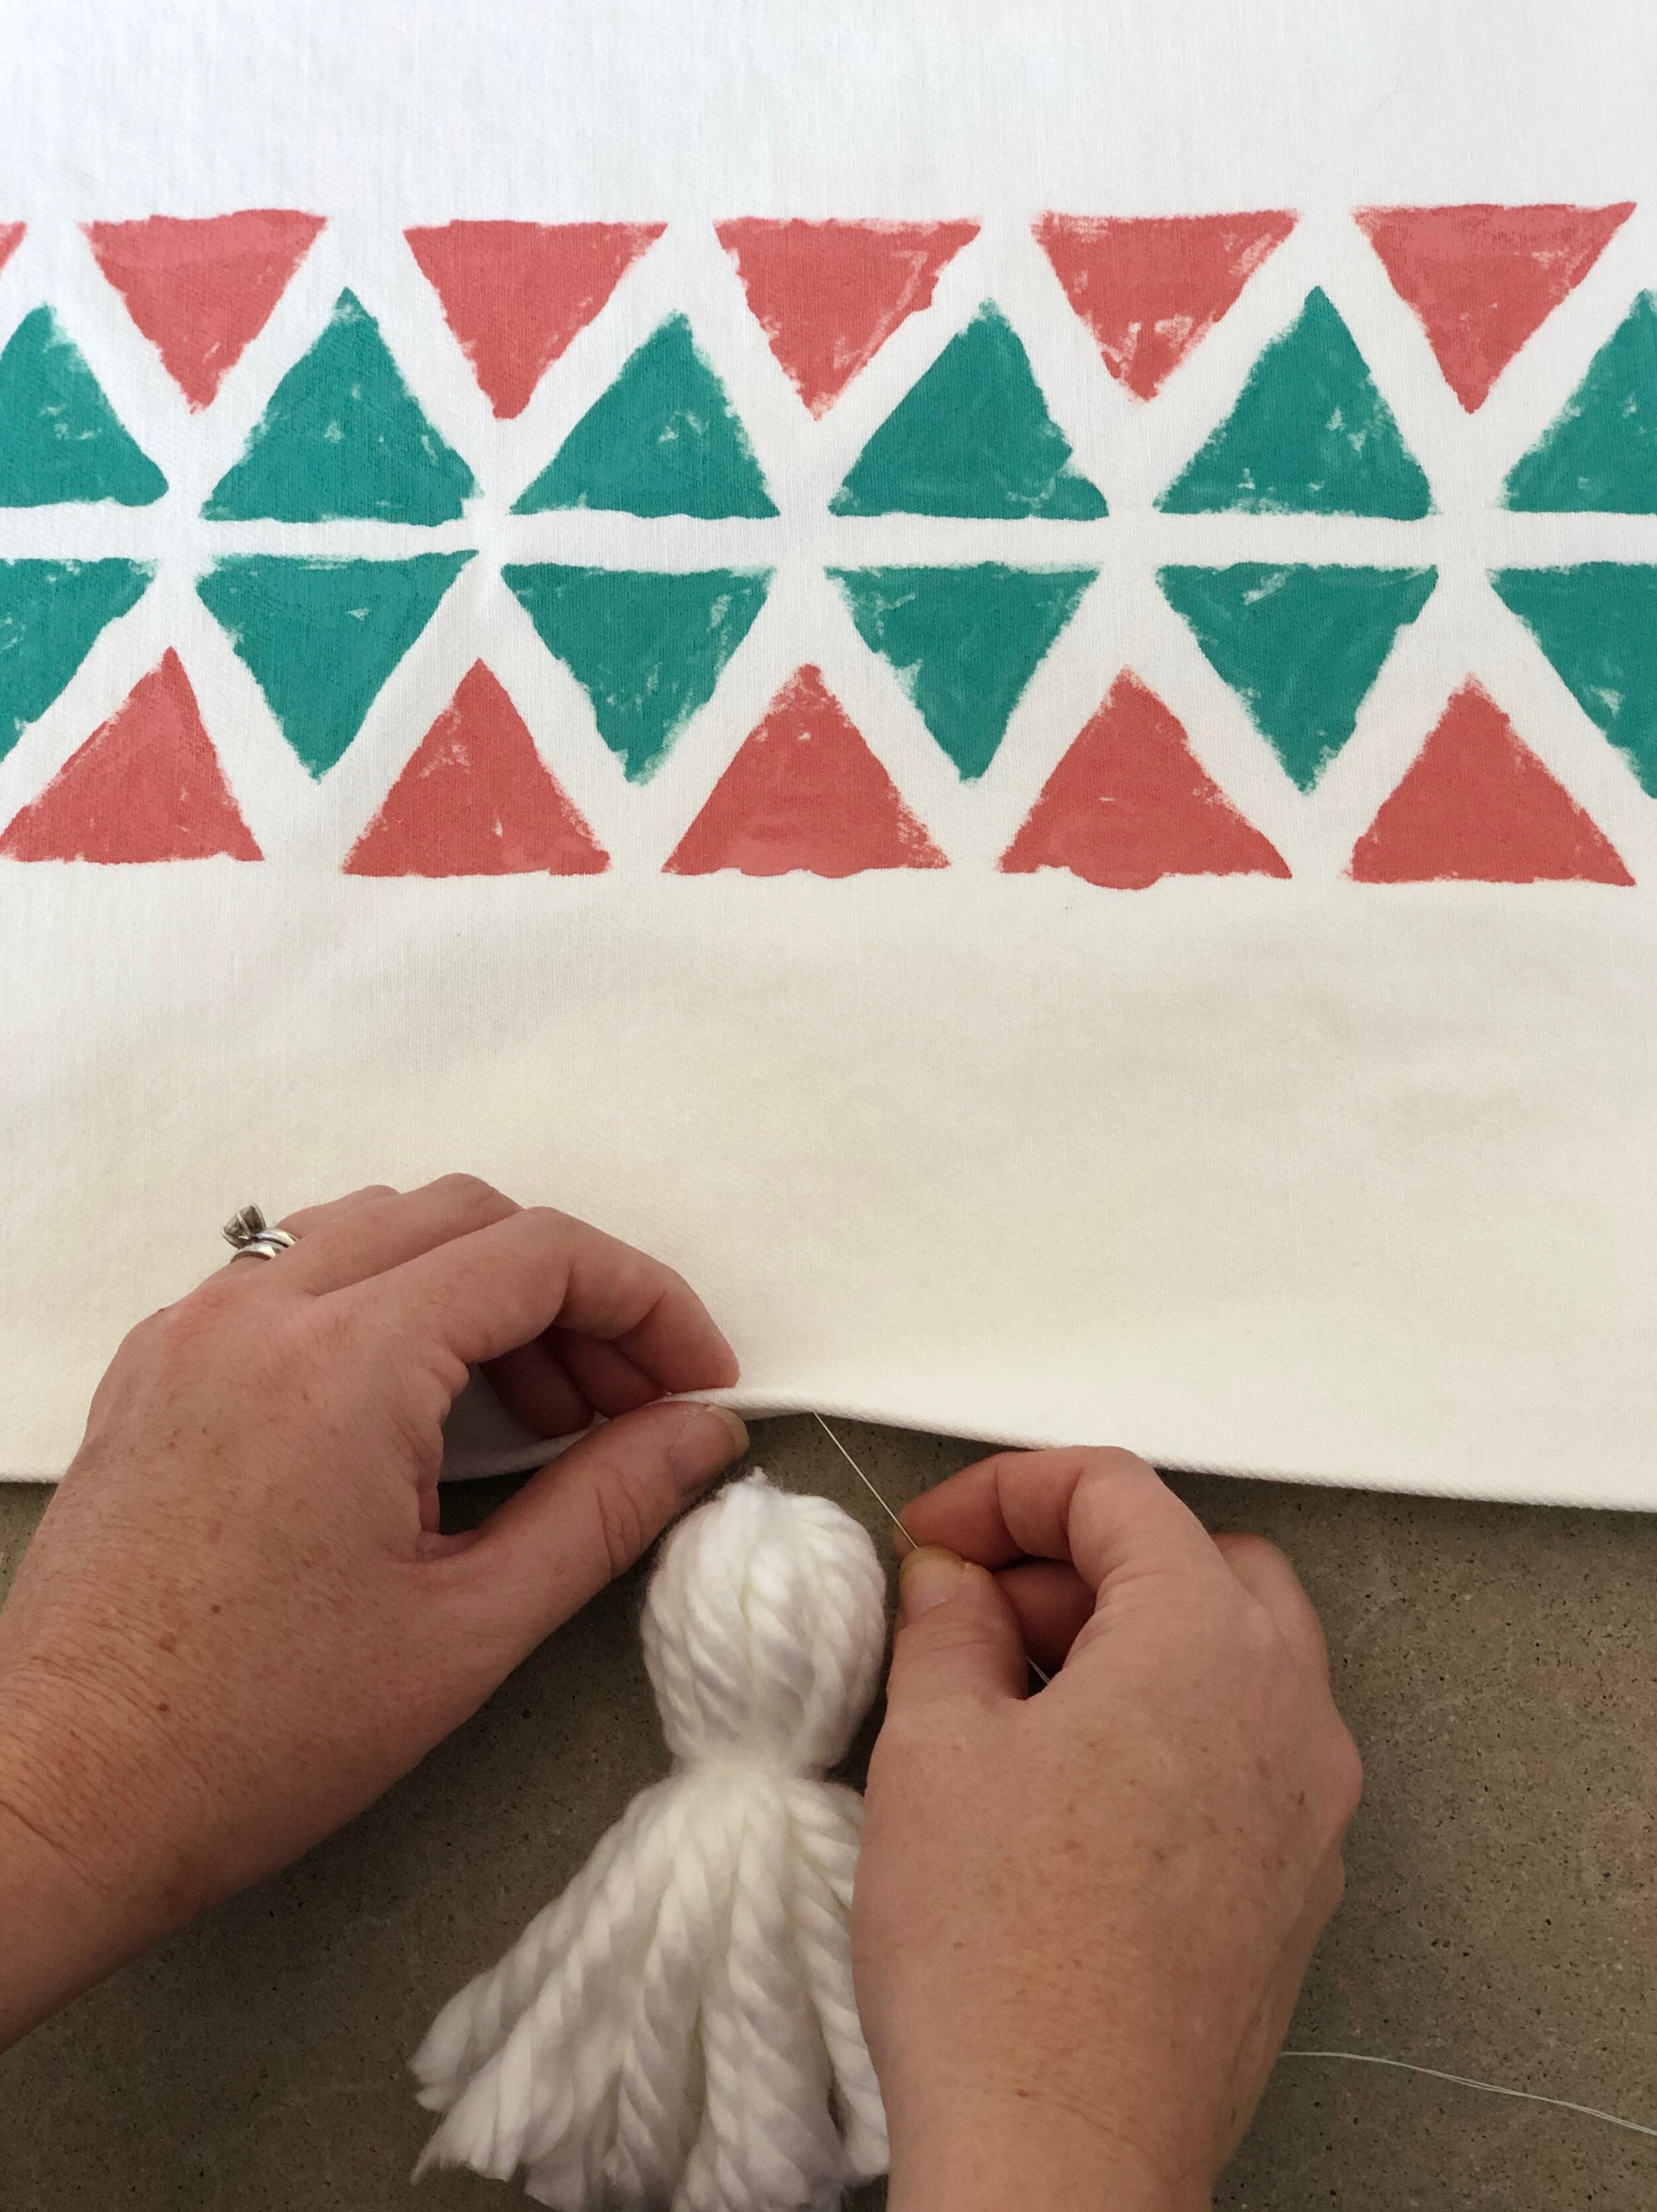
Step 5: Attach the tassels to either end of the rug. Thread a length of the skinny yarn through the eye of the tassel and tie tightly into a knot. Next, using a needle and thread, stitch a few loops from the rug to the tassel and then voila! You're done!


I hope this rug has inspired you to create your own seasonally-styled decor for your home. If so, I'd love to hear about it! Comment below and tell me all about it, or stop by Instagram, Facebook and Pinterest and let me know what you're planning to do for your next DIY project! Thanks again for stopping by today....I appreciate all of you!!
You might also like: