Dresser Refresh for the Front Porch

Hey friends! Thanks for stopping by today! Don’t forget to come find me on Instagram, Facebook and Pinterest AND sign up for my newsletter….You’ll be able to keep up on the latest happenings around our home and family!
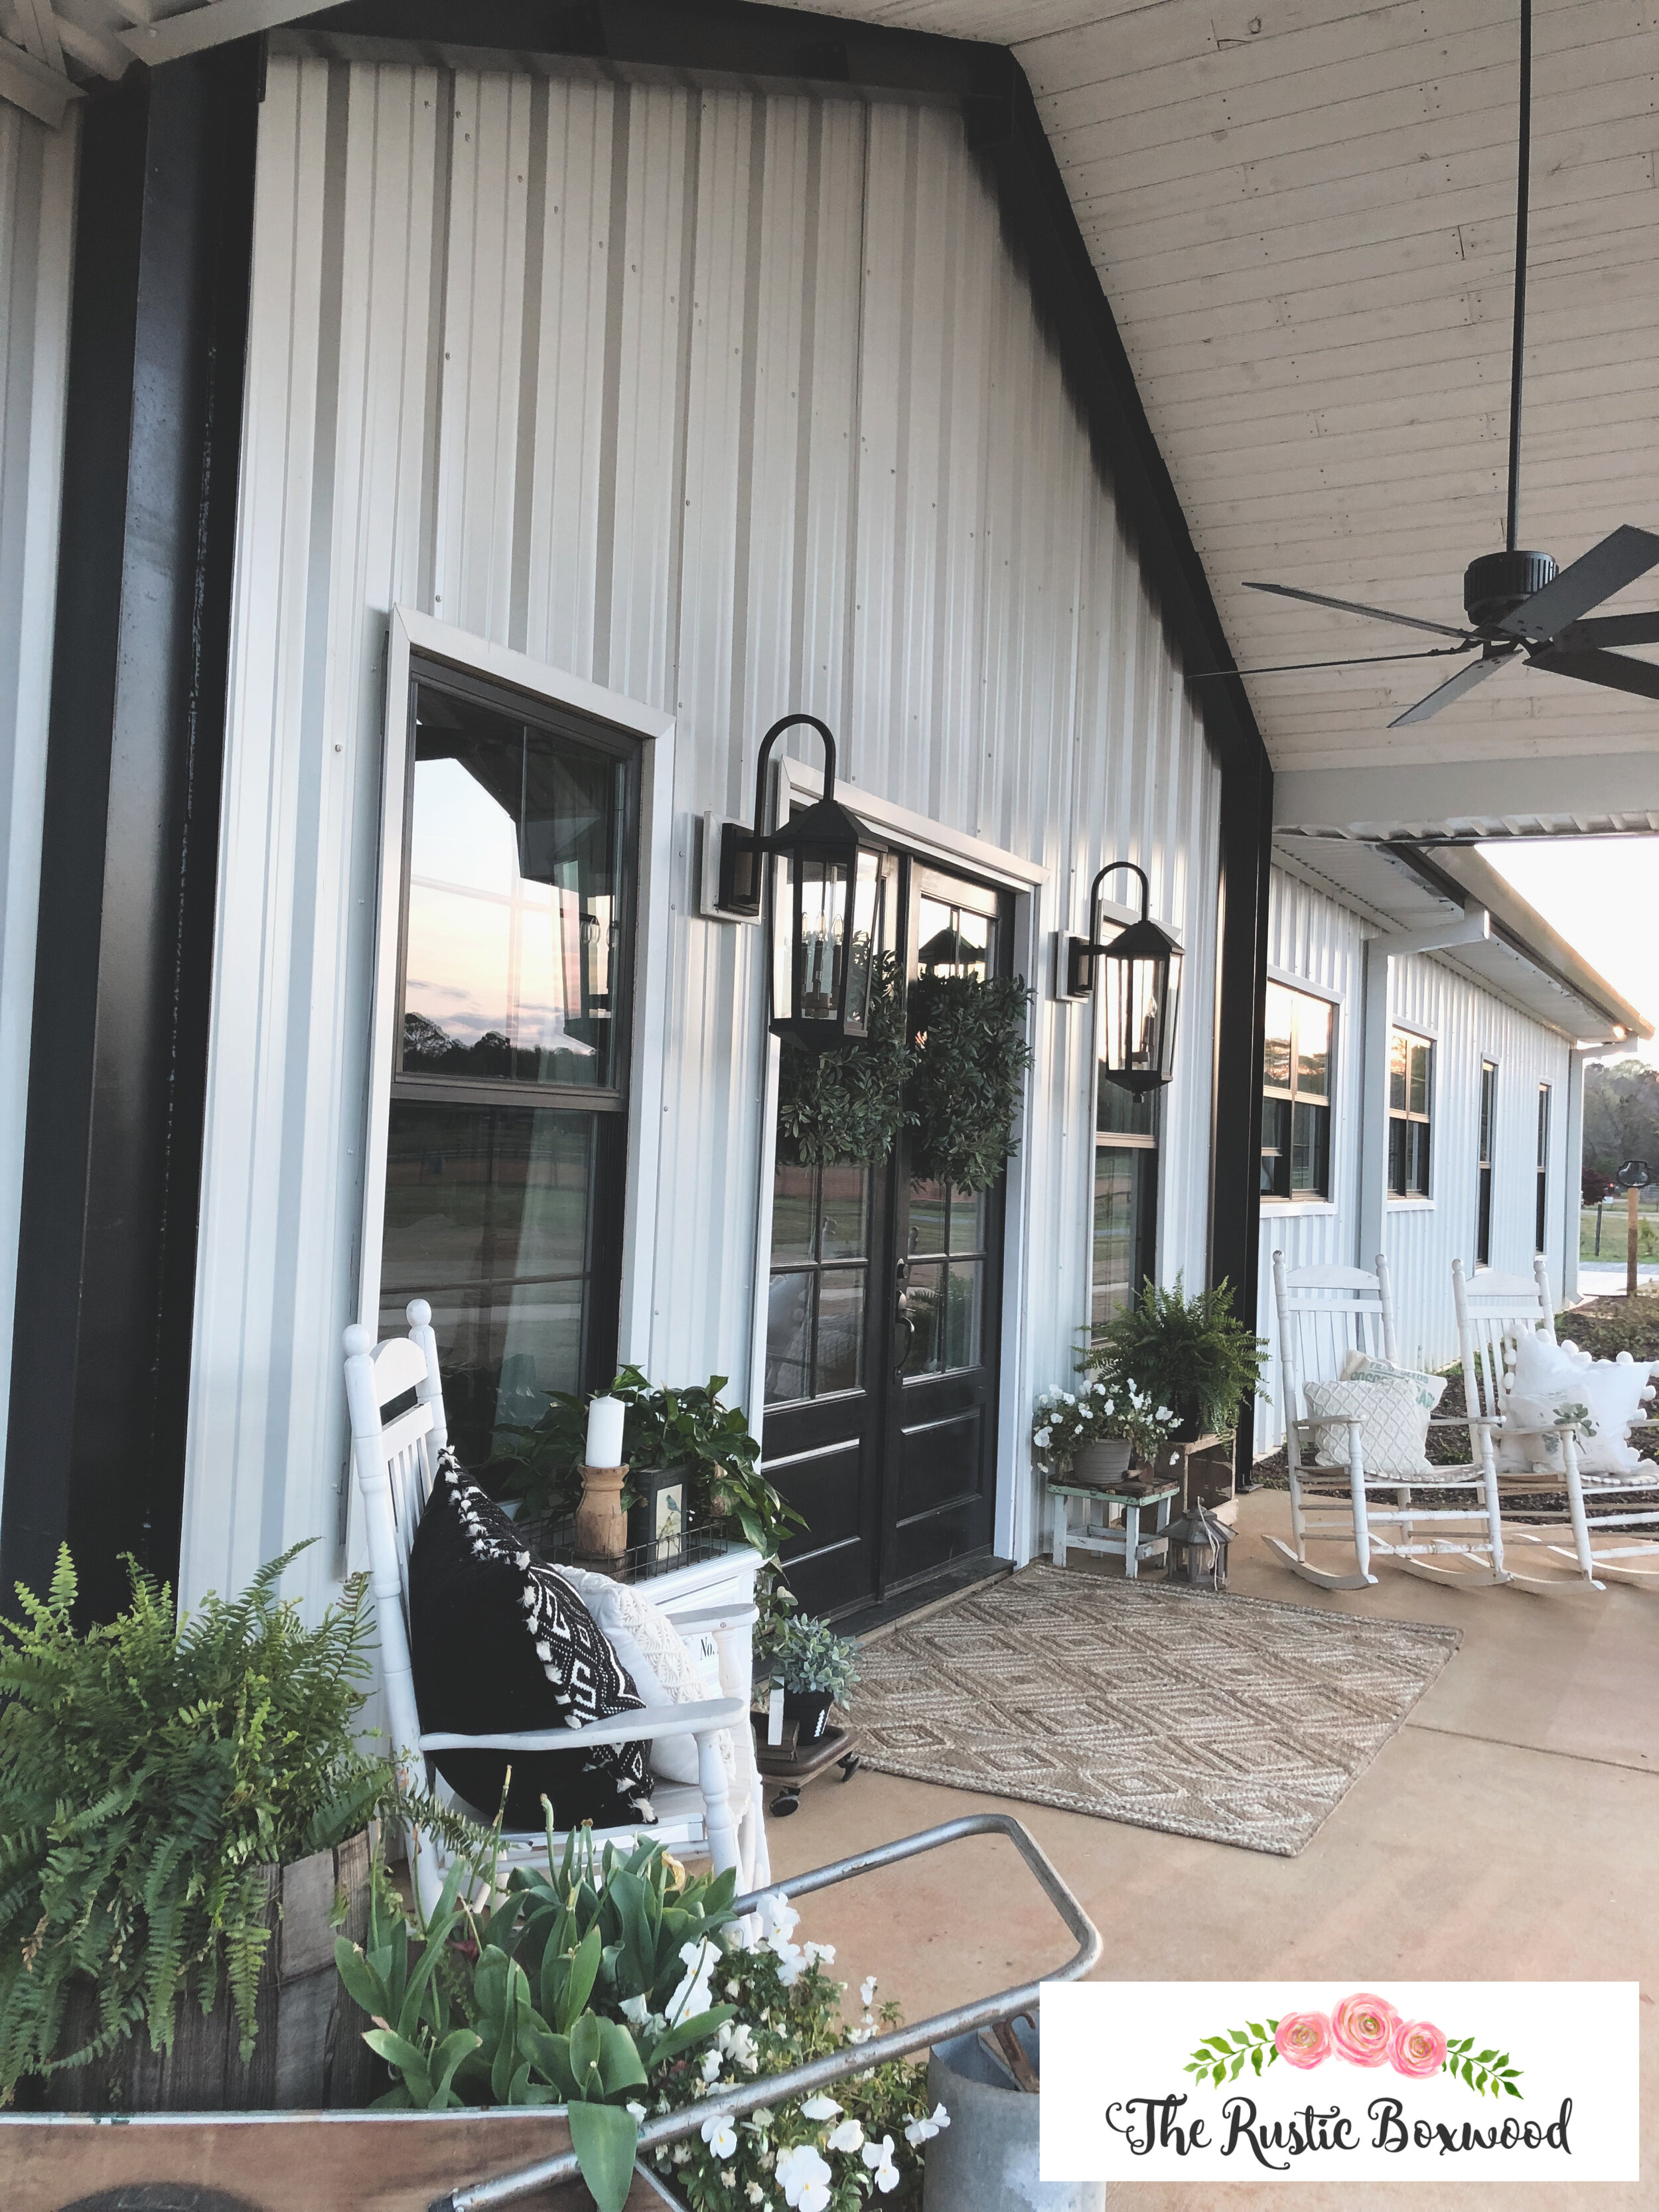
With the arrival of Spring, I always love to give our porch a fresh look, and of course, since we just built our dream farmhouse (click here), our funds have been sucked dry. LOL. Obviously, that meant I had to shop on a very tight budget for this "refresh," which worked out well! Do you know why? Because I already had a hand-me-down dresser that was perfect for the porch! Shopping your house is a great way to spruce up your exterior without having to spend too much cash! Woohoo!

Now let's talk about this project....Because I'm one of the Core Creators for DecoArt (which I am so LOVING!), I get to play with their products every so often. (All opinions are completely my own! Please click this link for full disclosure!)
This month, they asked me to create a project that would help promote their Outdoor Living paint line. I was so excited about using this paint, since I've used it before and loved it (click here for that post)....It's an awesome interior/exterior, acrylic paint line! You don't have to sand, prime or seal your piece before painting, which makes me very happy.

Here's what I used for this project:
Americana Decor Reusable, Stick-On stencil -- Vintage Numbers 2
black paint (just a smidgen)
wooden-handled sponge brushes
paper plate (optional)
drop cloth or protective paint layer

Follow the directions on the "Outdoor Living" paint tub for easy prep, and make sure your piece is on top of a drop cloth or some sort of protective surface. You'll also want to pour a little paint onto your paper plate for easy reach with the brush.
Now, you're ready to start your project! I really LOVED this paint, because it went on smoothly and quickly!
After applying a couple of coats of this white paint, and after the dresser completely dried, it was time to stencil! I made sure the drawers were turned right-side up and then attached the reusable, stick-on stencils to the drawer fronts.

Because I wanted the stenciled design to have a distressed look, I didn't coat the sponge brush with too much black paint. Actually, I only needed a smidgen of the paint...probably no more than a dime-size! But I lightly dabbed the black paint into the sponge brush and then brushed some of it off onto a paper plate to ensure that I didn't overcoat the stencil. After I had the right amount of paint on the brush, I lightly and carefully pounced over the stencil.

Immediately after I finished with that portion of the project, I removed the stencils. Easy peasy! Because the Outdoor Living paint didn't require any finishing work, I didn't have to worry about applying a sealant! Woohoo!
Once everything was completely dry, my sweet son carried the dresser out for me, because it was time to decorate!


I'm so excited about enjoying our newly-painted piece on the porch. We'll get to relax in warmer weather, smell the fragrant flowers and make memories on our front porch!