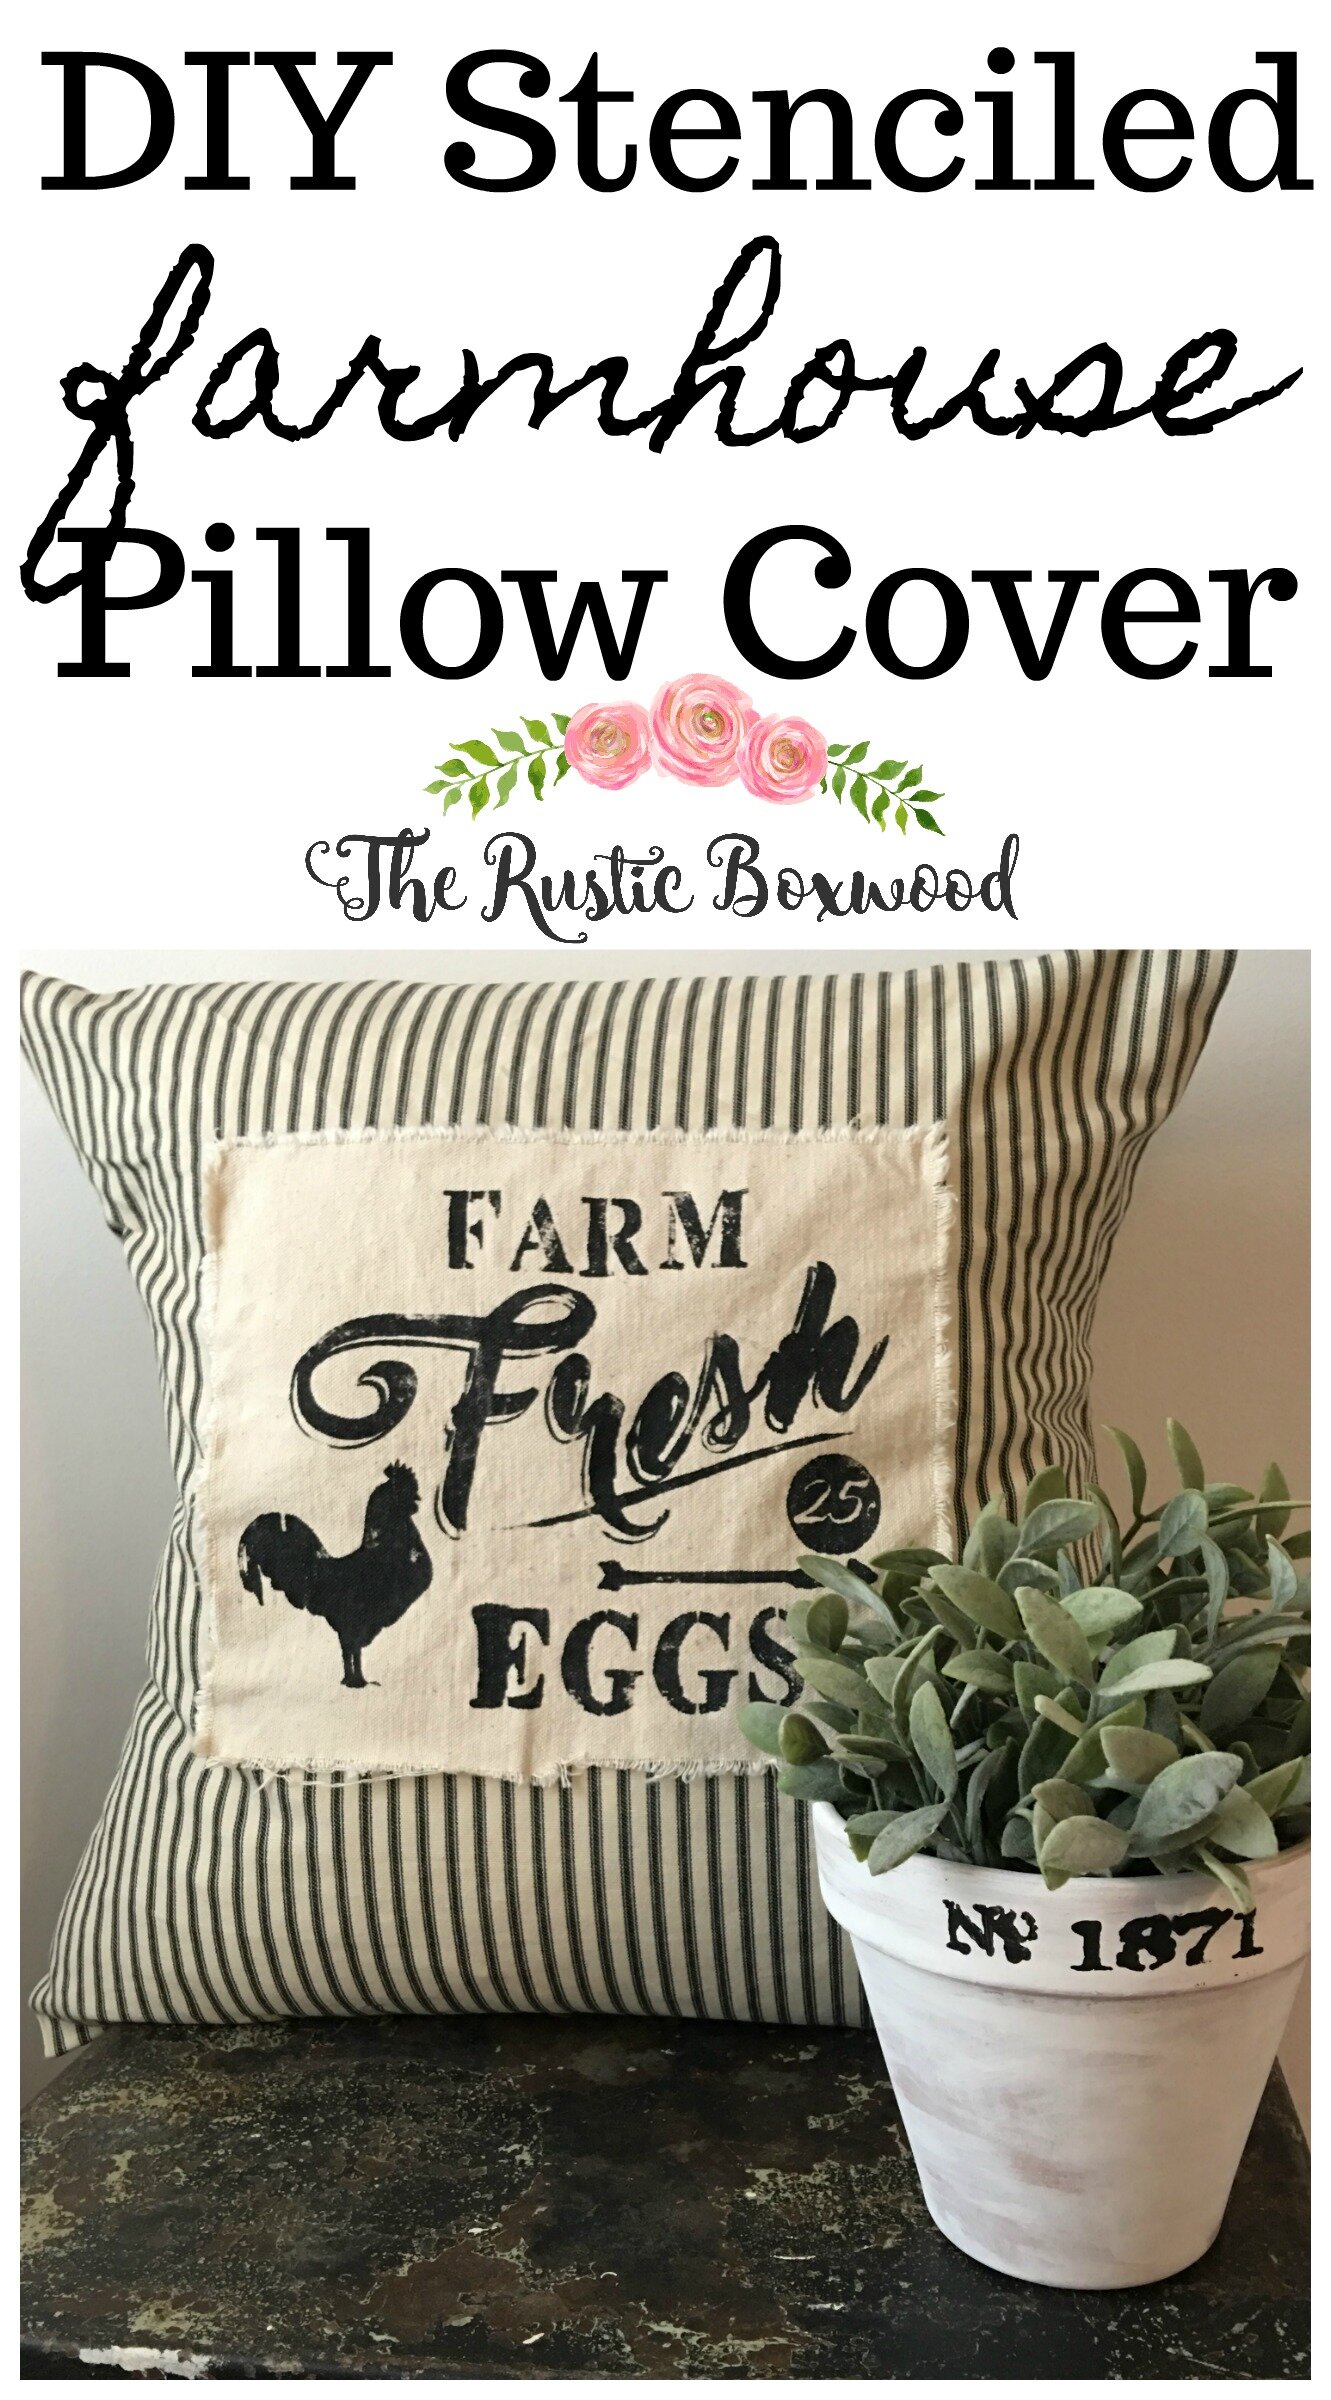
DIY Stenciled Farmhouse Pillow

Hey friends! Thanks for stopping by today! Don't forget to come find me on Instagram, Facebook and Pinterest, in order to stay up to date with all the happenings and projects on the blog!
*******************************************
Today, I'm going to share with you how to make a gorgeous farmhouse pillow! This project is super easy, and you'll be surprised at how quickly it comes together! Use this tutorial to either copy what I did here, or use it to inspire your own creativity in designing the perfect farmhouse pillow for your home!
Here's what you'll need:
your favorite farmhouse stencil
ticking fabric for your pillow cover
canvas fabric for your stenciled piece
tape (for securing your stencil to the fabric)
black acrylic paint
fabric medium
sponge brush
down insert for your pillow cover
either some thread and a needle or stitch witchery
First, be sure to wash and dry your fabric according to fabric instructions, so there won't be any shrinking after you've sewn your pillow.
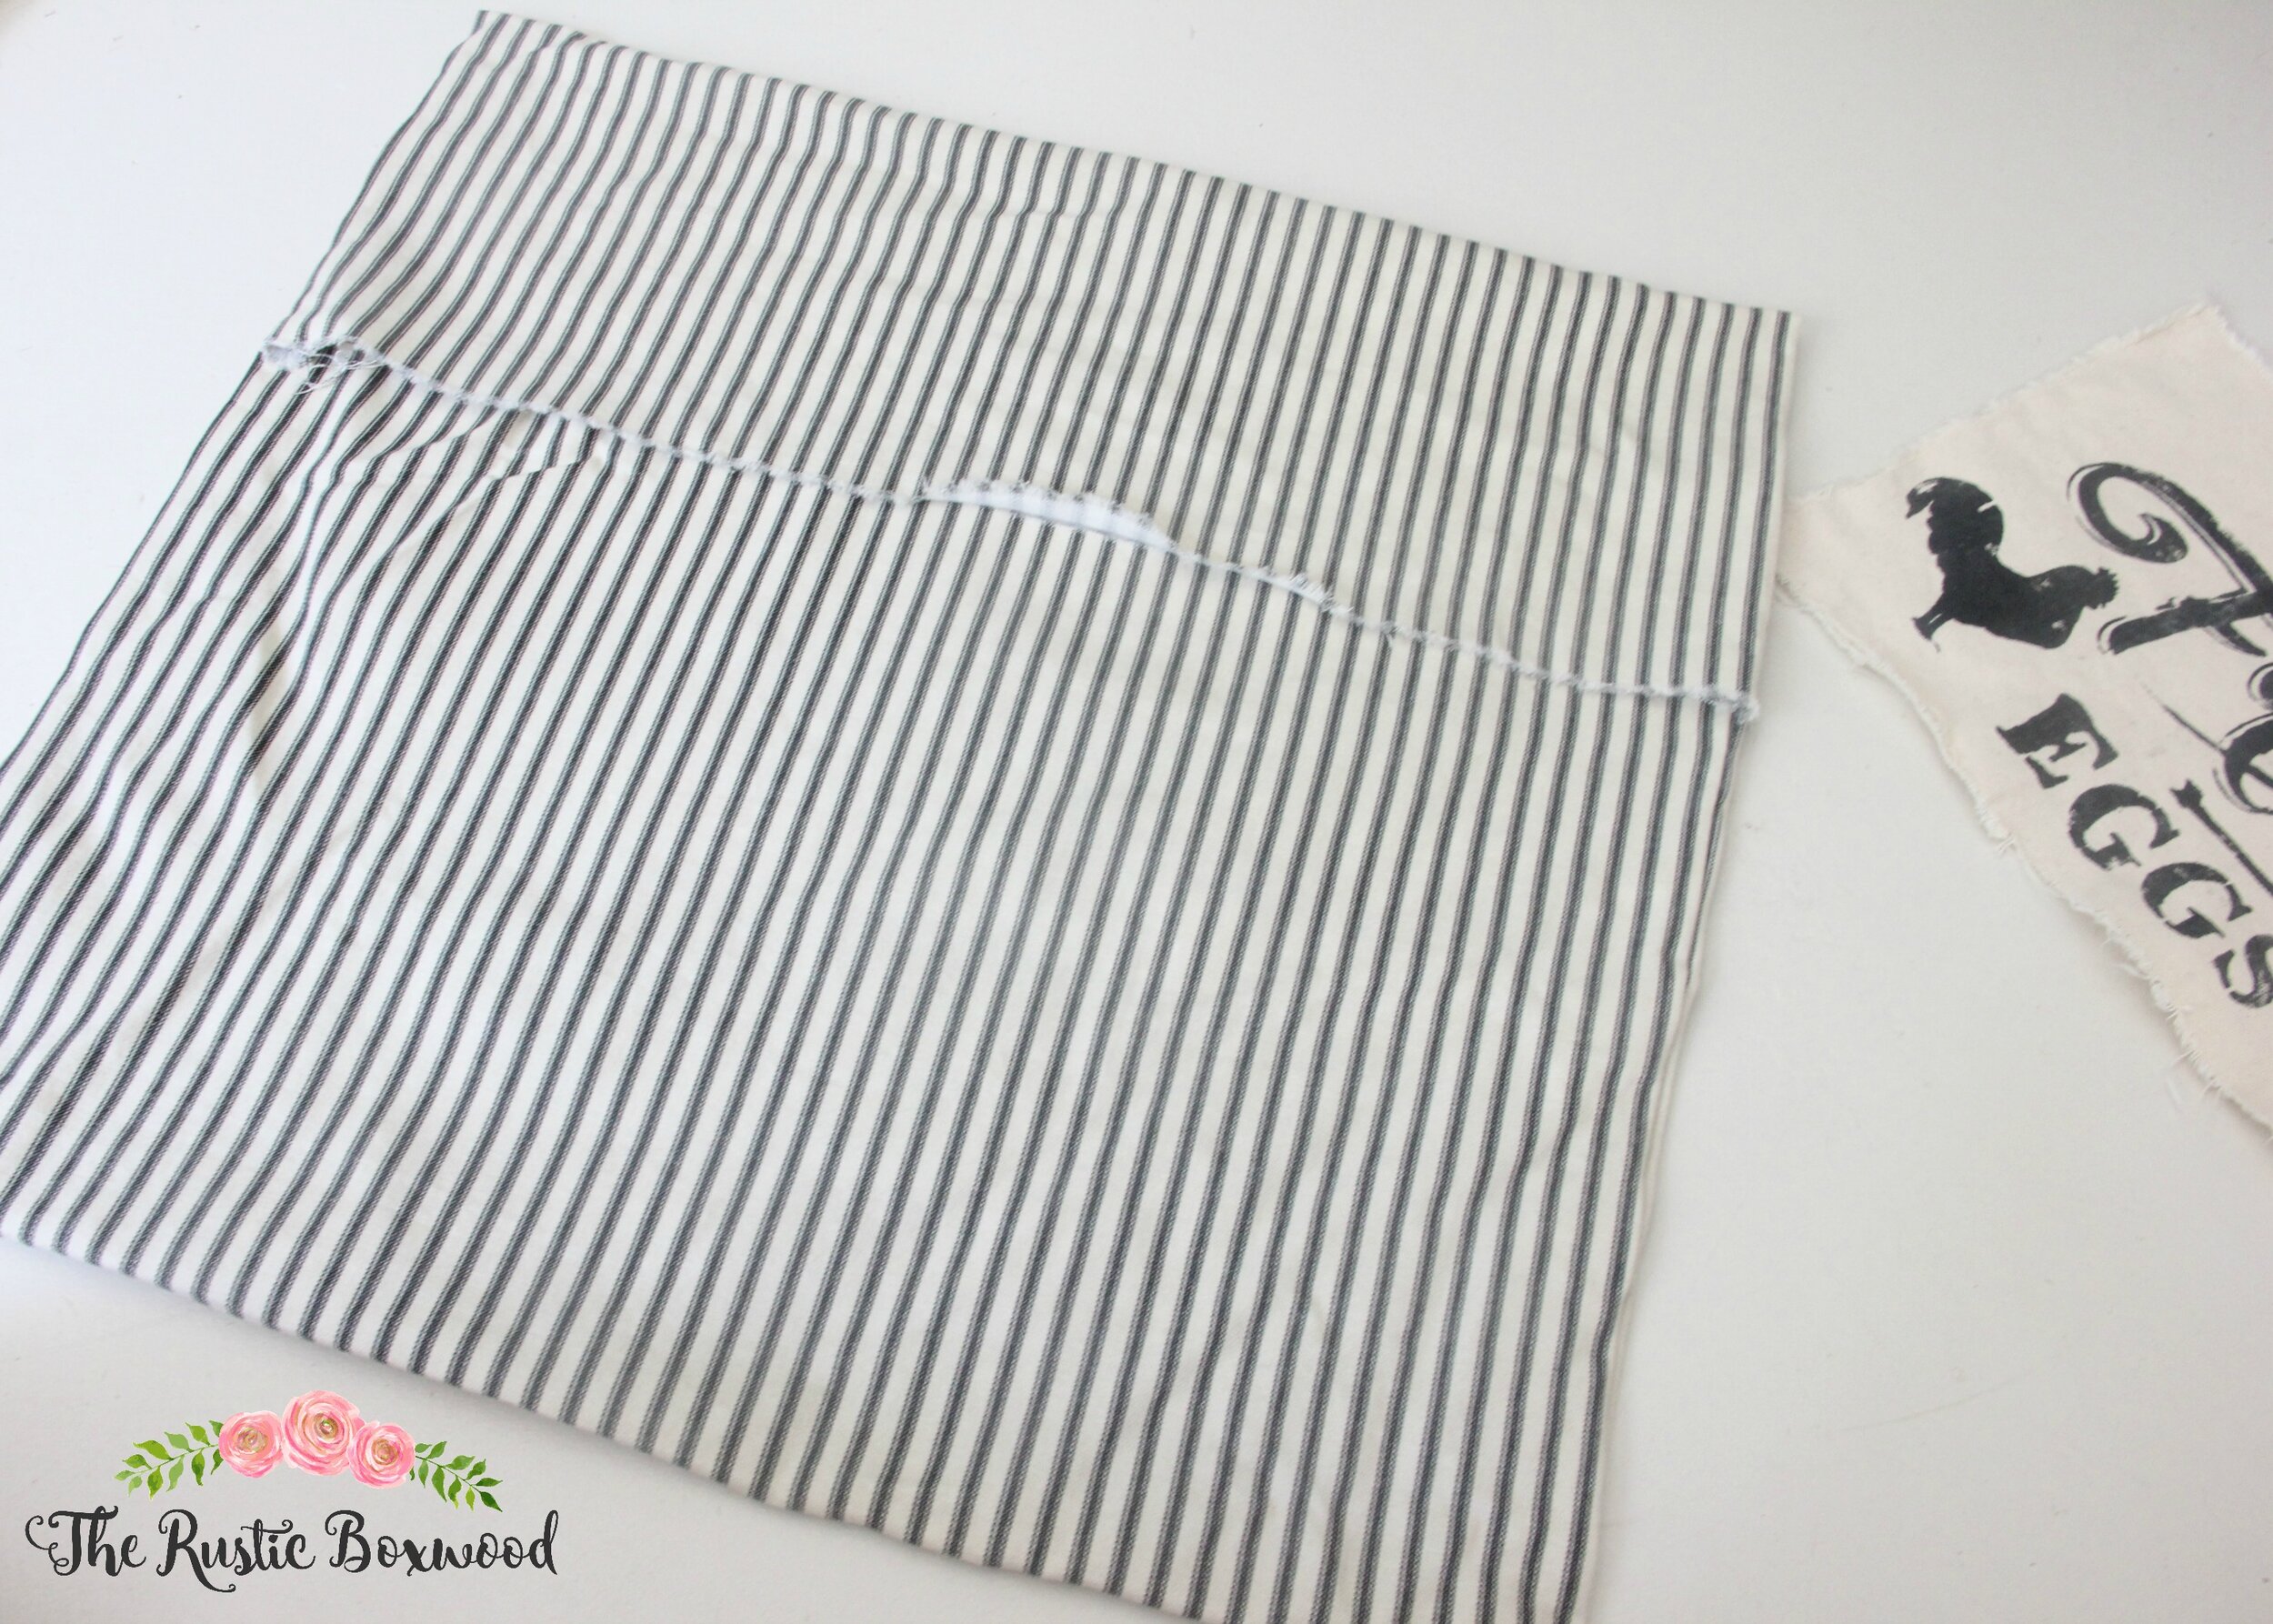
Second, measure out and cut the fabric for your pillow, allowing for a 2" seam all the way around, and then sew your pillow together. I used the "envelope" method, because it's so easy and quick. If you don't want to make your own pillow cover, you could also use a plain white, pre-made pillow cover and dress it up a little! Now that your pillow cover is stitched together, you're ready for the stenciled piece.
Tape your stencil directly onto one of the canvas pieces, and then place a protective layer (such as a piece of cardboard or some newspaper) directly underneath the fabric to prevent any bleed through of your paint.
Pick up a bottle of fabric medium at any craft store, or make your own. (Canary Street Crafts has a great tutorial on DIY fabric medium.) Follow the directions on your fabric-medium bottle when mixing into your paint.
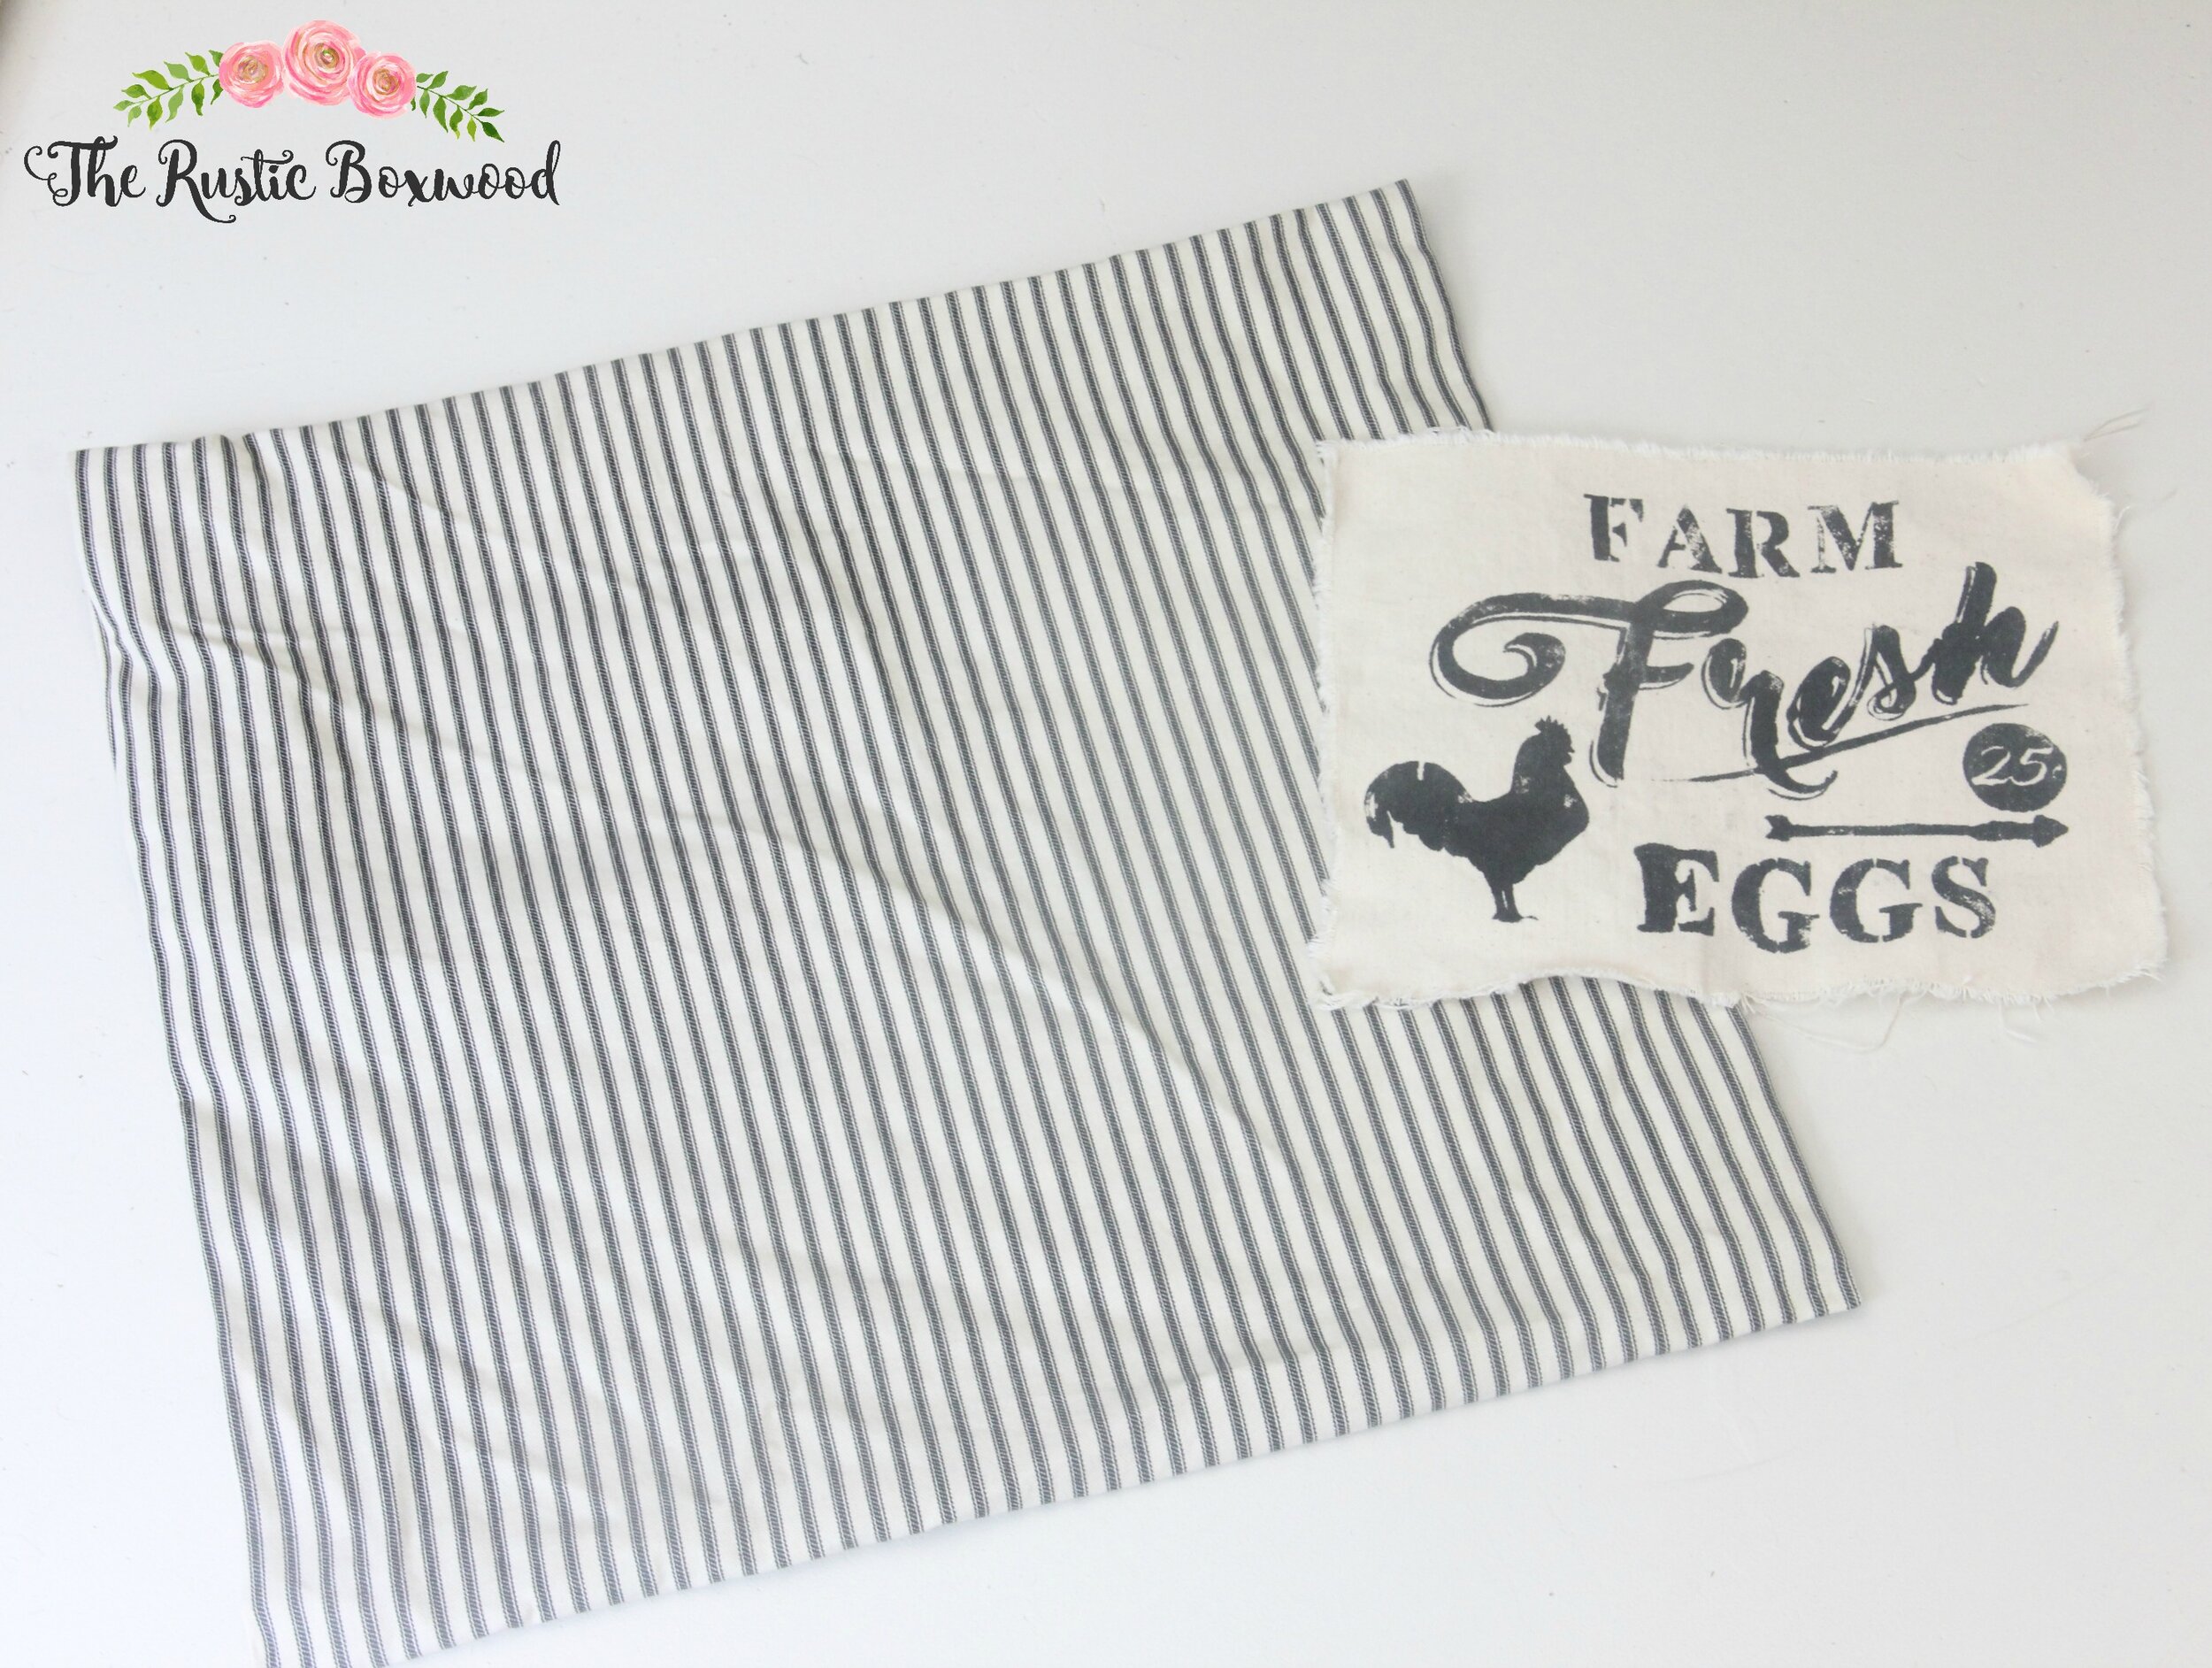
Now, carefully AND LIGHTLY, using your freshly-mixed paint and your sponge brush, stencil your design onto the fabric. If you put too much paint on your brush and then paint using hard strokes instead of light pouncing, then you'll end up with a mess. And you definitely don't want to have to start over! ;)
Set aside and let dry for a few minutes. After it's dry, use some thread and a needle, and lightly stitch each corner of the stenciled canvas piece onto your pillow cover. OR you could use stitch witchery and iron your stenciled canvas to the pillow cover.
Now, it's time to insert your fluffy down pillow into your beautifully-made pillow cover. Woohoo! You're done!
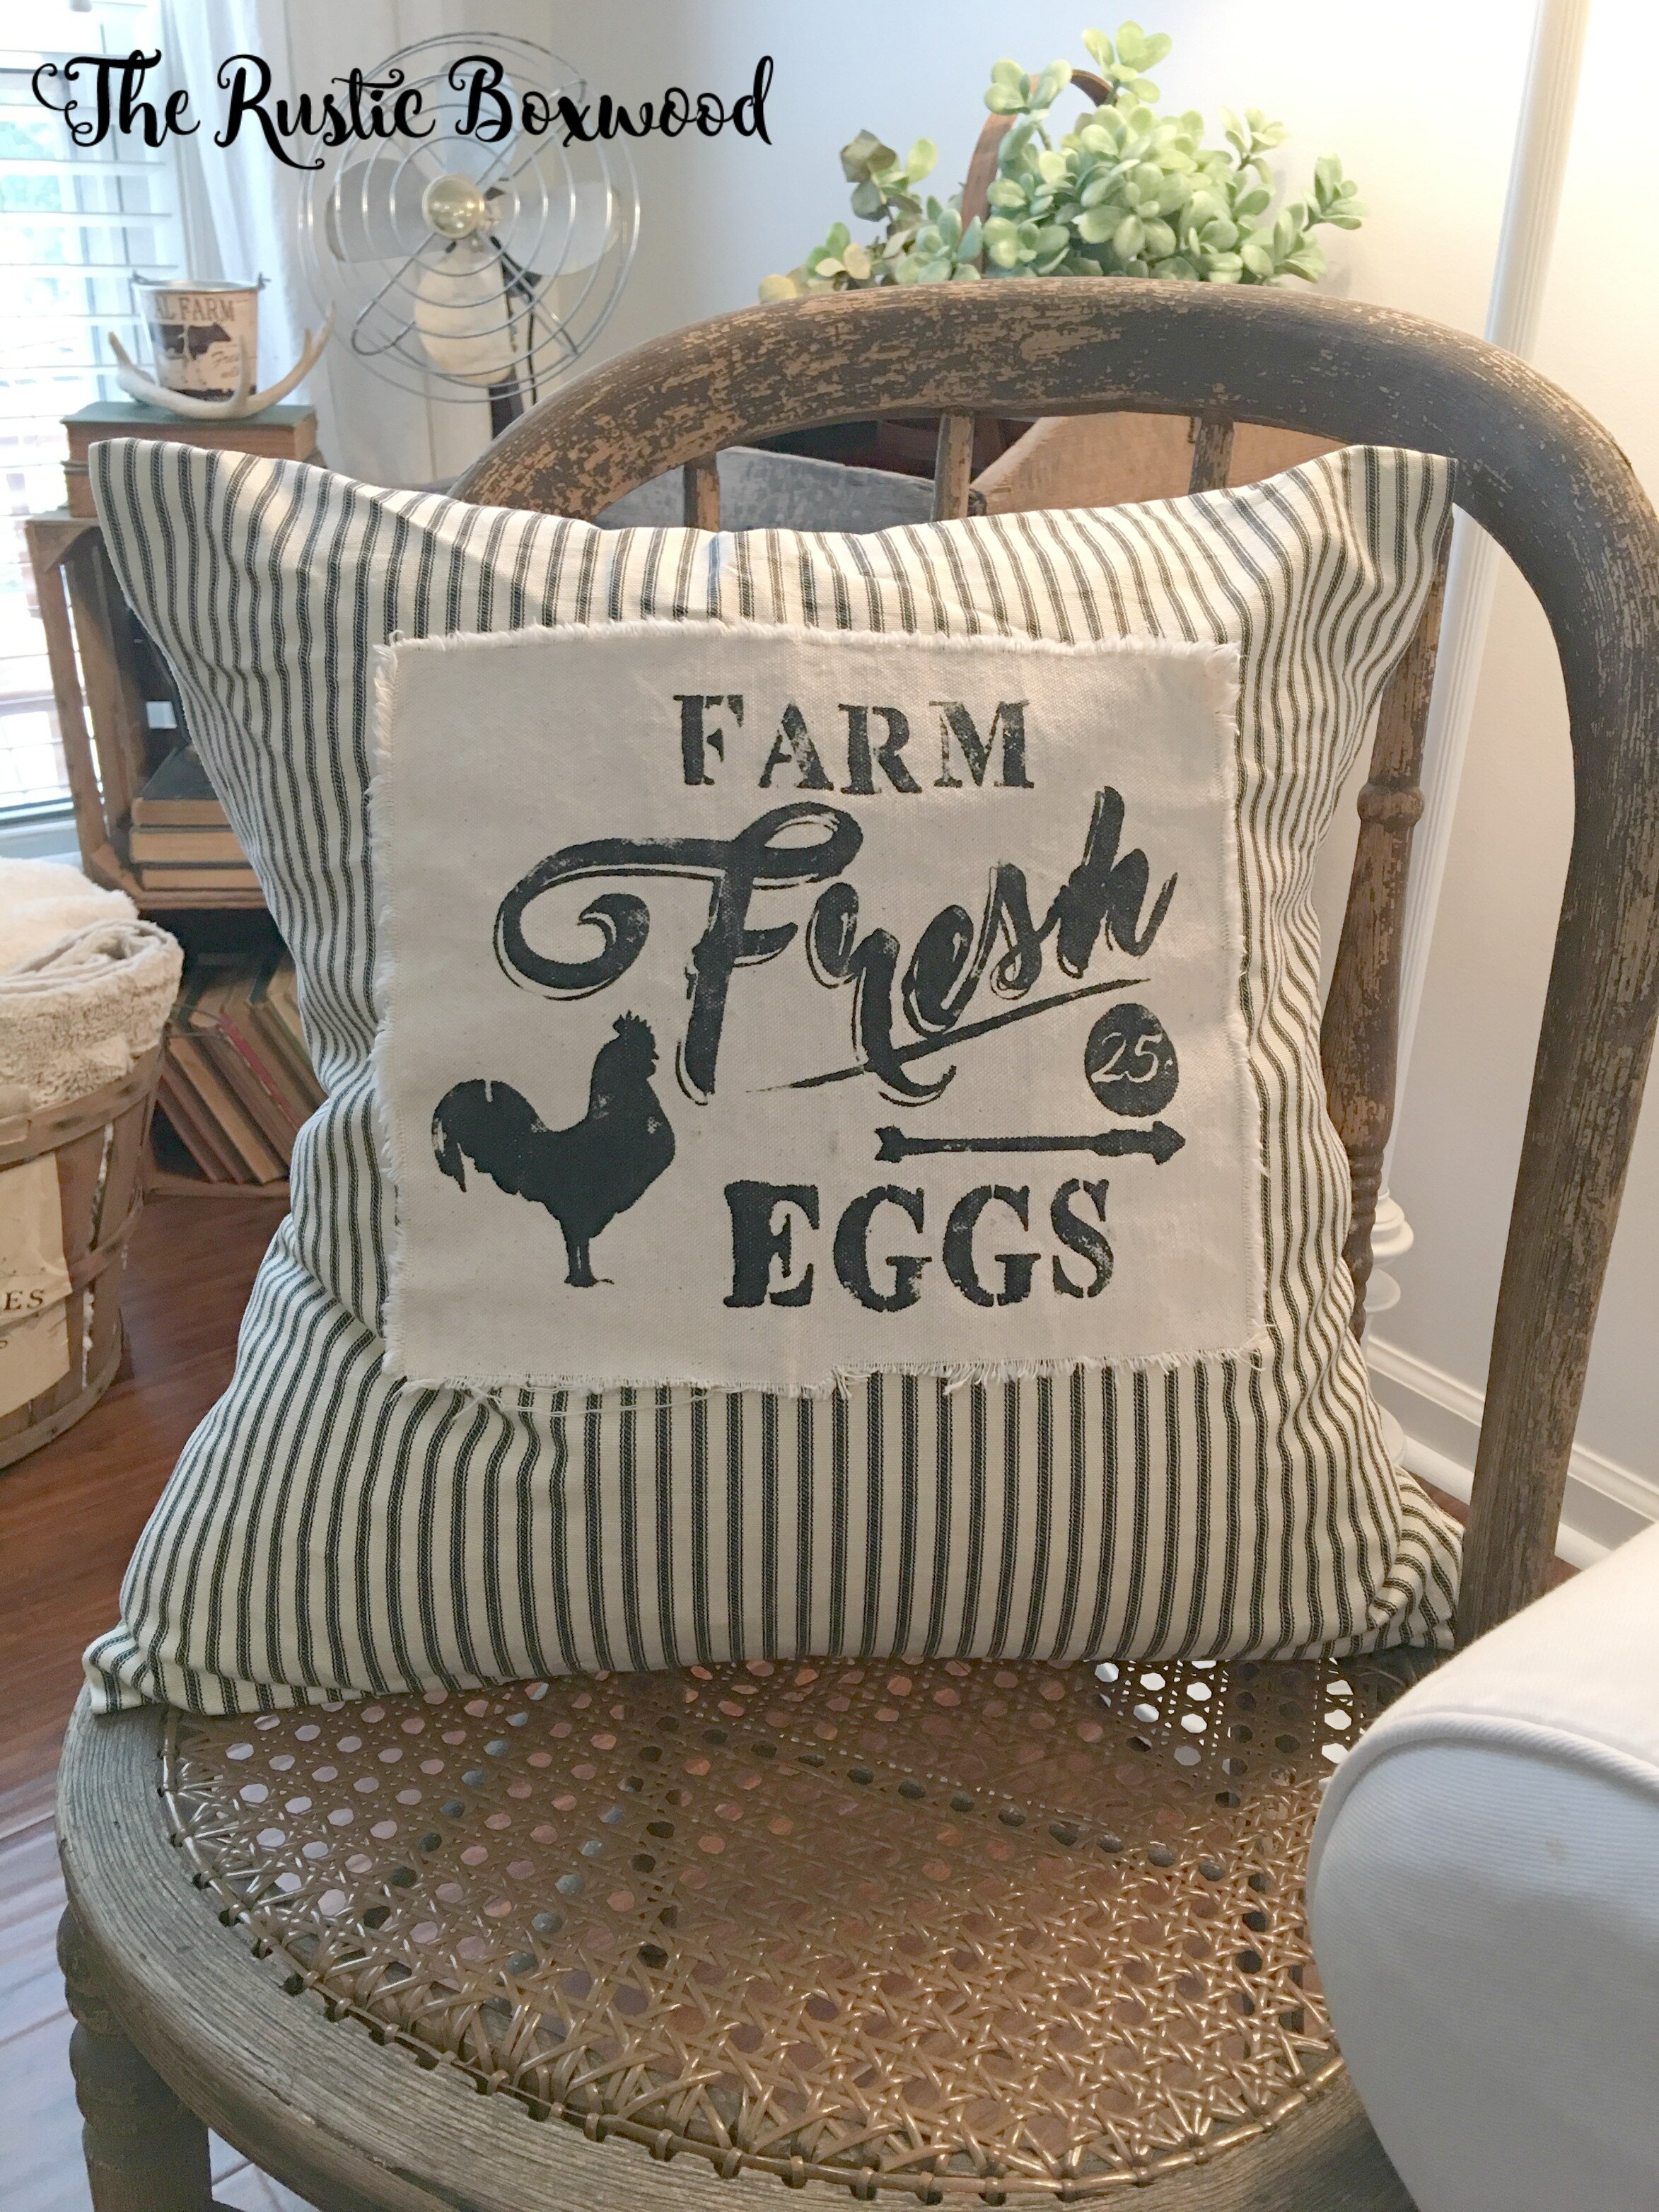
Since Ikea sells their down inserts for such great prices, I have a collection of them, and you should, too! (No, this is not a paid advertisement for Ikea. I just really love their down inserts so much!) ;) For this particular pillow, I used a 20 x 20 down insert for this pillow cover.

Thanks again so much for stopping by! I appreciate each and everyone of you! If you'd like to follow along with us and our latest happenings, you can find me on Instagram, Facebook and Pinterest, and I'd love for you guys to say hey. It always makes my day to hear from my sweet readers!
You might also like: