
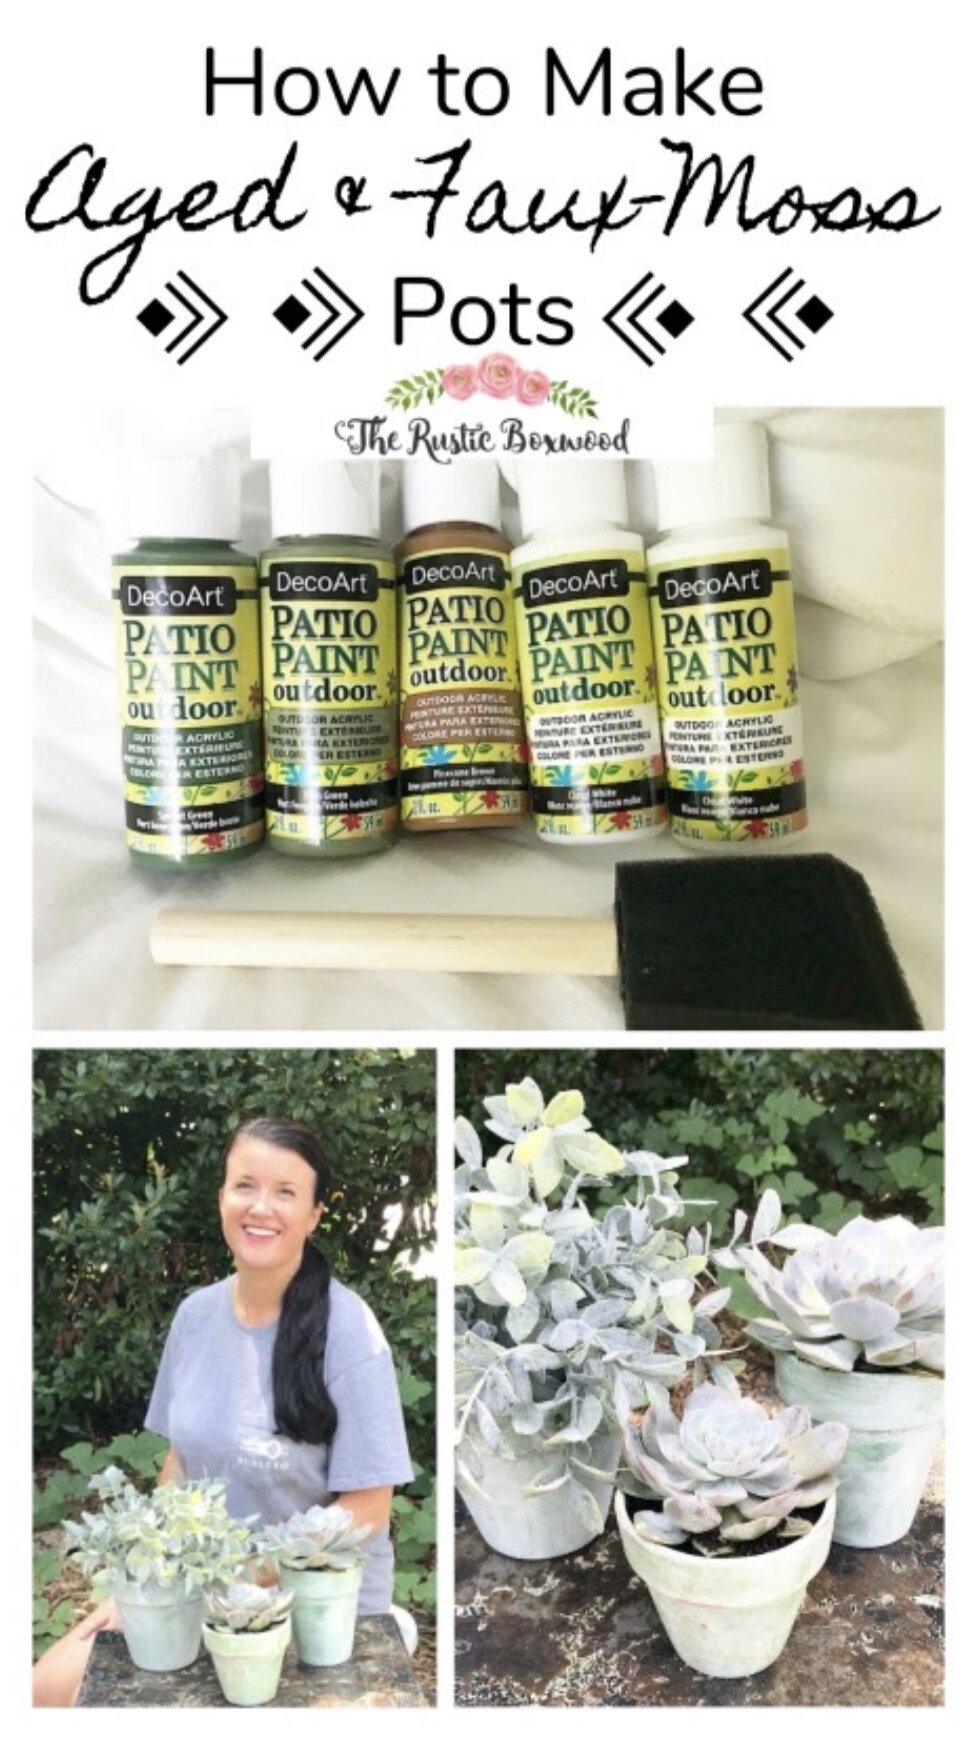
How to Make Aged, Faux-Moss Pots
First, I have some exciting news! DecoArt (a brand that carries a full line of craft paints and stencils and other cool products) has invited me to join their awesome team of bloggers for the next year to share with you guys all about their products and fun ways to use them! I'm so honored to join this talented group of ladies and can't wait to get to know each of them more!
So, with that said, I partnered with DecoArt for today's project, and we're going to talk all about how to make aged, faux-moss pots. They're a super-easy, budget-friendly way to spruce up your home, or they could also become a special, handmade gift idea. Also, you don't have to be a skilled crafter to make these cute pots....Anyone can do this project! (If you'd like to watch how these fun items are made, be sure to click on the direct link here!)
Here's what you'll need:
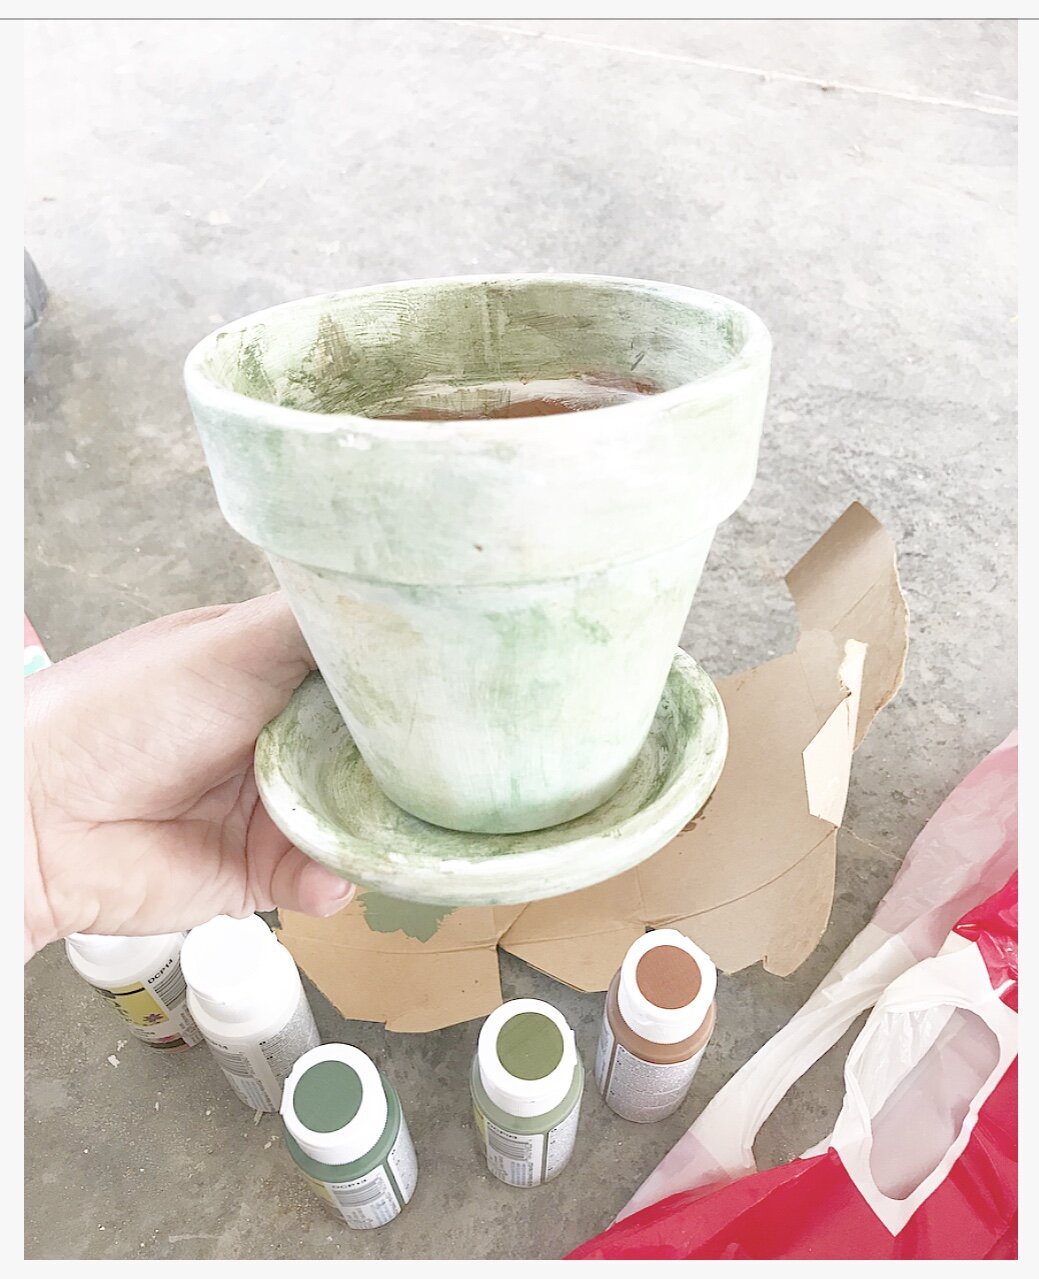
terra cotta pots (You can get these pots at most thrift stores, craft stores or home improvement stores.)
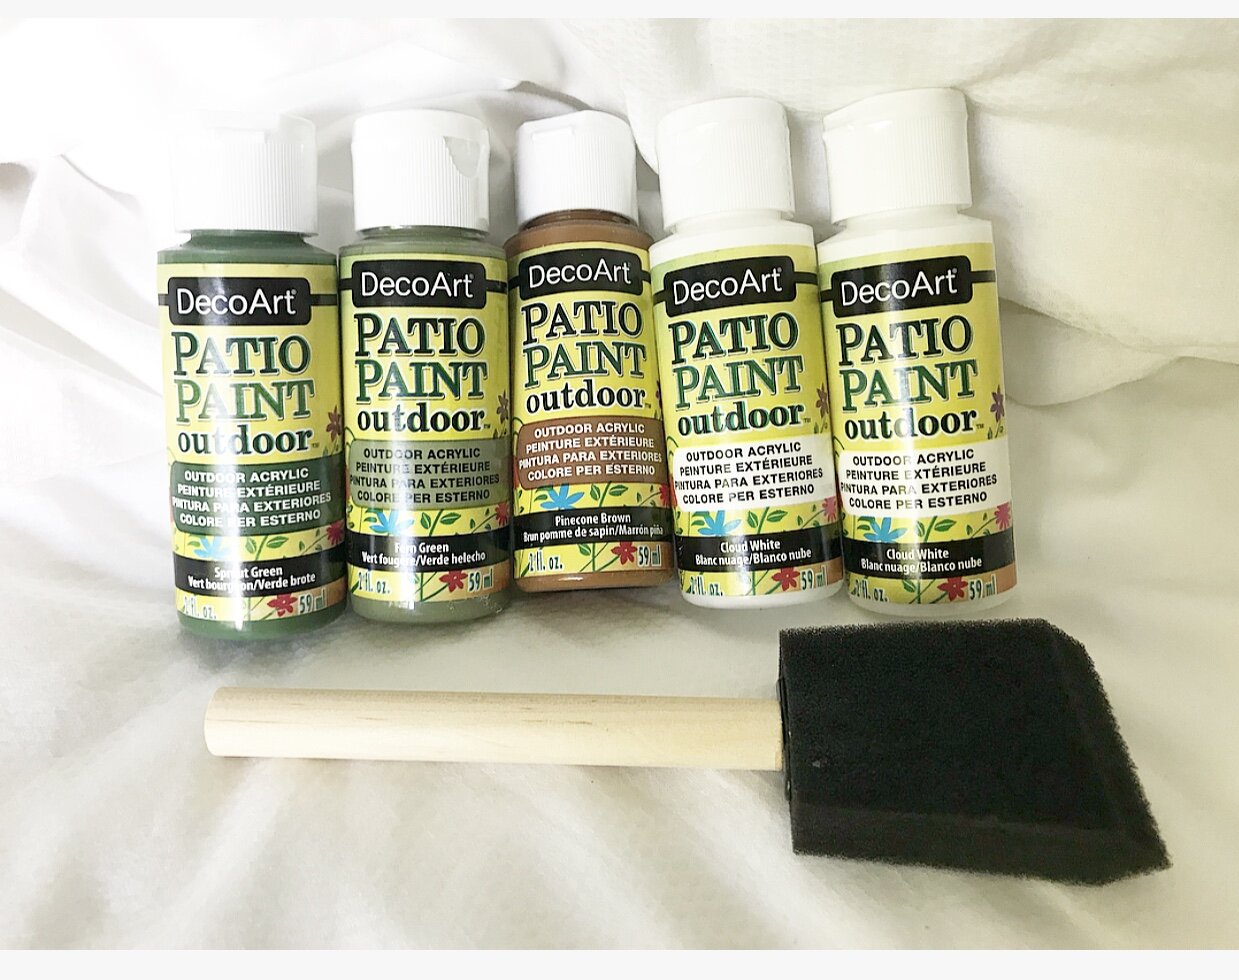
acrylic paints from DecoArt's Patio Paint Outdoor Line (I used these 4 colors: Cloud White, Pinecone Brown, Fern Green, Sprout Green.)
wooden sponge brushes
paper plate (optional)
latex gloves (optional)
paper towels (optional)
sandpaper with a fine grit (optional)

Before we start with this tutorial, I wanted to introduce to you all about DecoArt's Patio Paint line. Here are some fun facts about this fabulous paint --
water-based and non-toxic for easy cleanup
no sealer required
satin finish
scuff resistant
amazing coverage
won't crack or peel
adheres well to exterior surfaces, such as wood, masonry, concrete, and terra cotta
made in the USA!
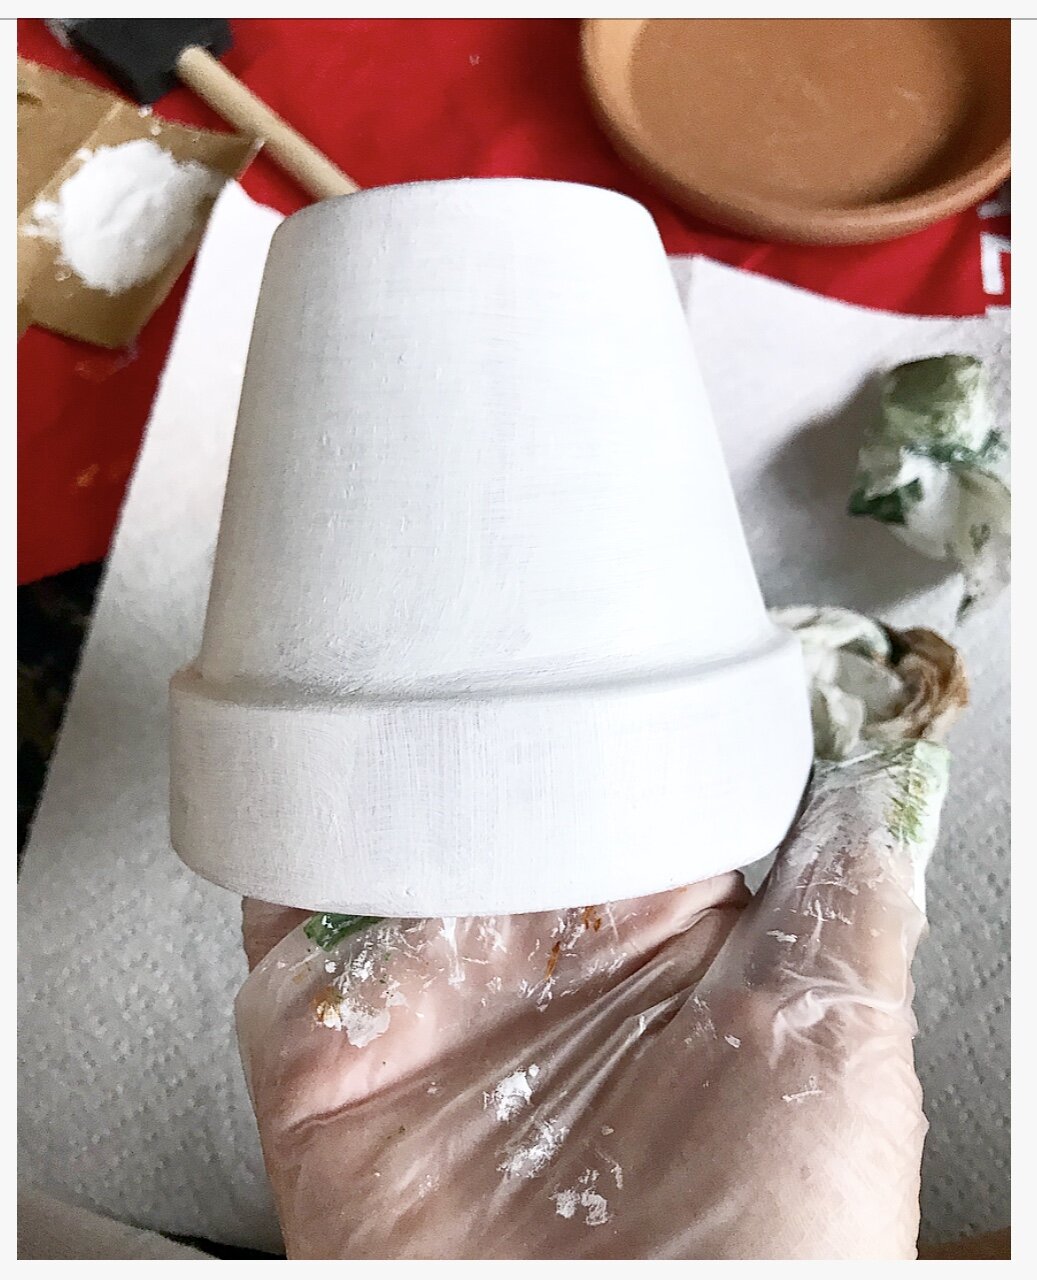
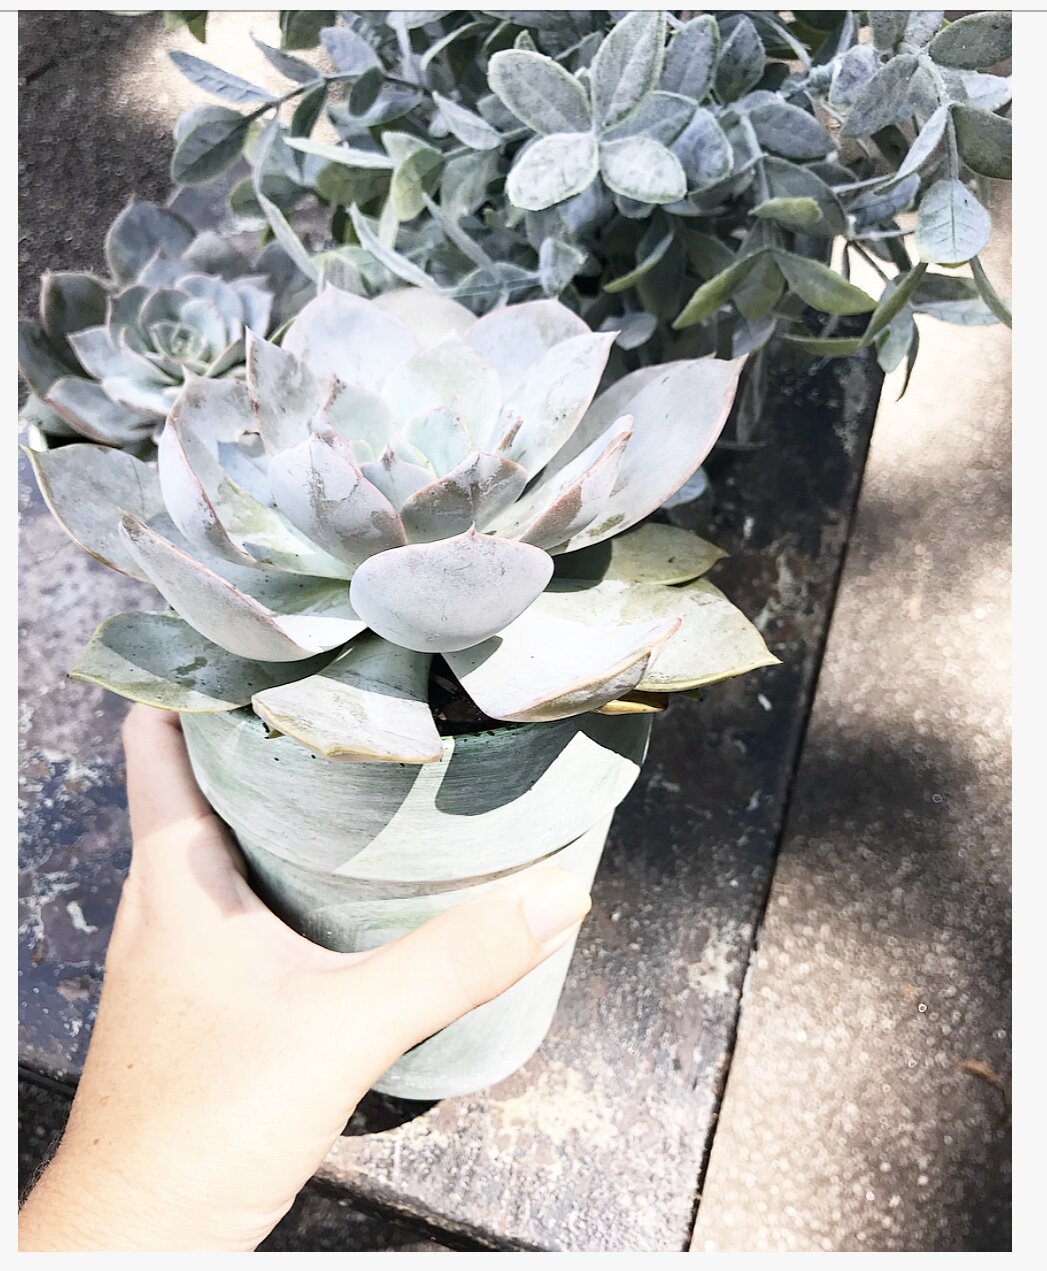
Let's begin! First, prep your pots by removing any excess dust or dirt from the pots. Next, using your wooden sponge, use horizontal AND vertical strokes to paint on the first layer of paint.

The great thing about this project is that since you don't want your pot to look perfect, you can use any color you want as your base layer. On one pot, I started with white, and on another pot, I started with brown. You want to use your brush for the base coat, because you'll use the most paint on this first layer. Now that you've got that base layer on the pot, set it aside for just a few minutes to dry.
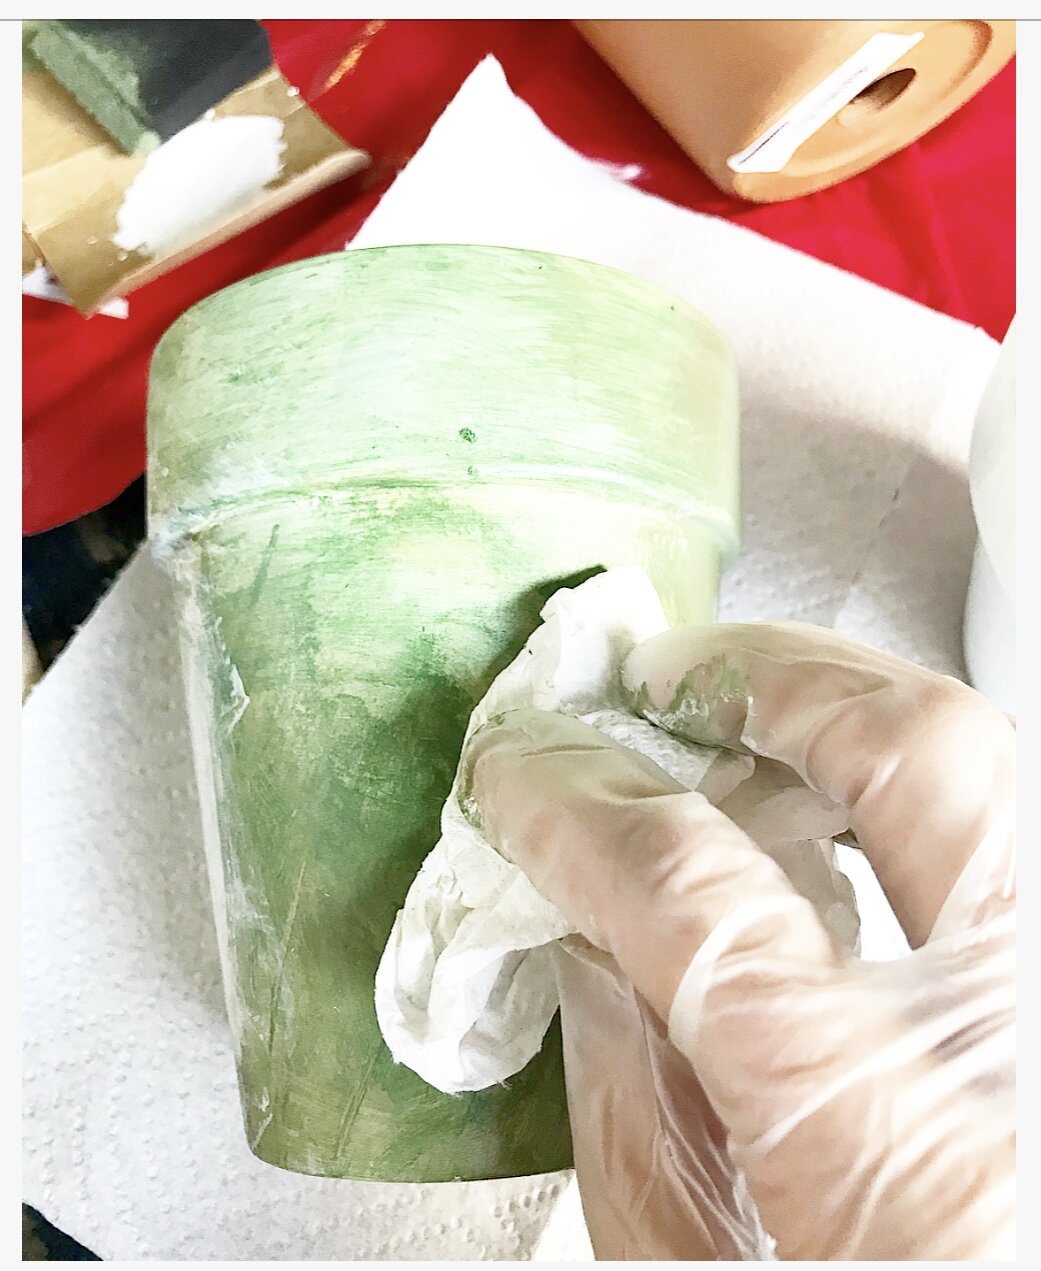
The next step is to paint on your second layer of paint. Using a wadded up paper towel and your latex gloves, go ahead and rub on (again, vertically and horizontally) your preferred paint choice. I selected (for my 2nd layer) the darker green, which is the "Sprout Green" color. I followed the same process with the lighter green, making it my 3rd paint layer, and then added some white paint (using the same process) as my 4th coat.
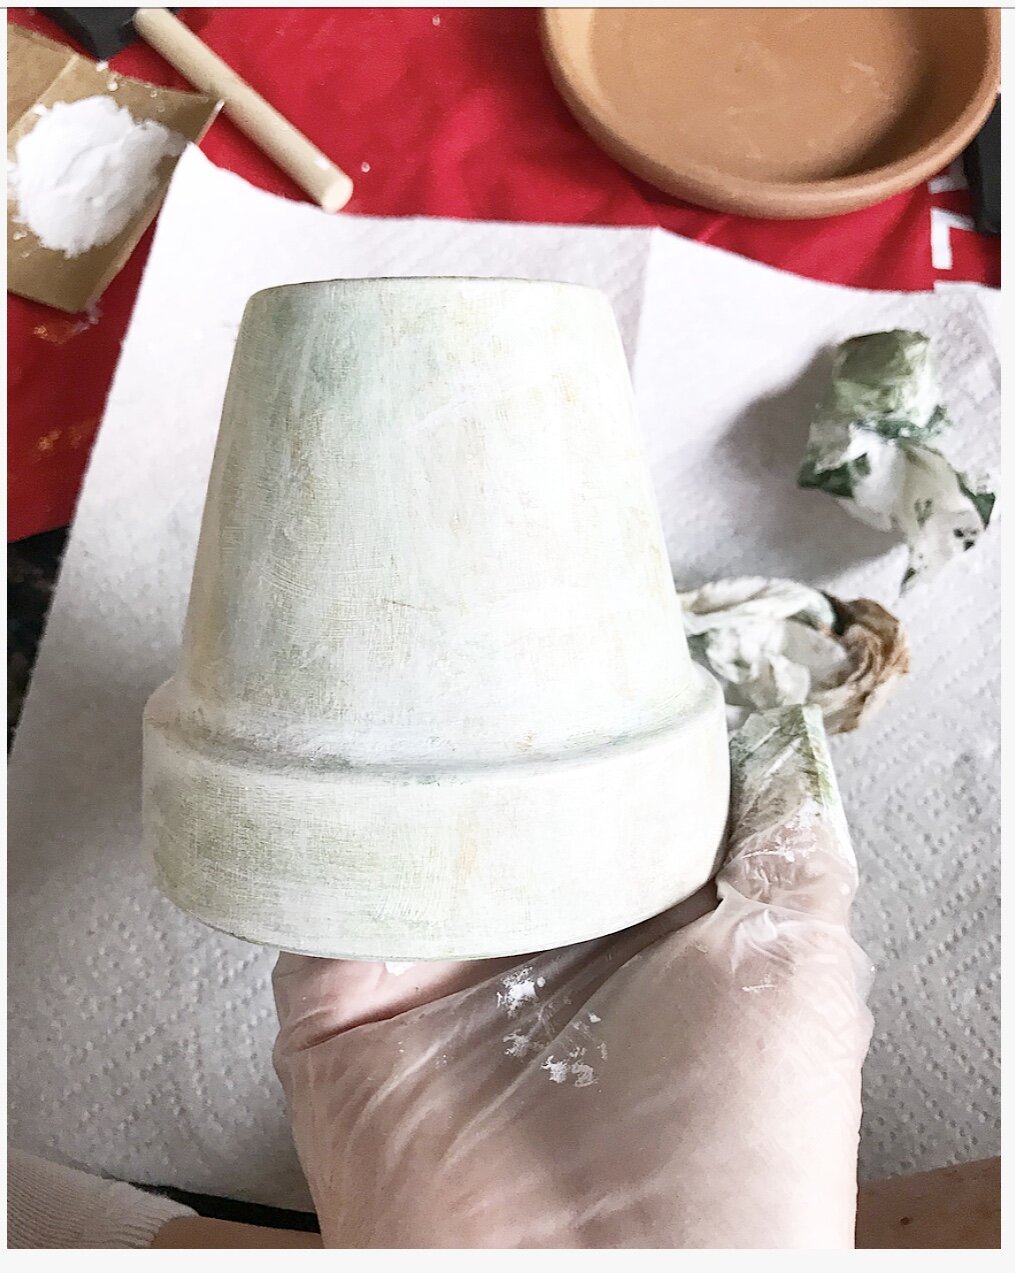
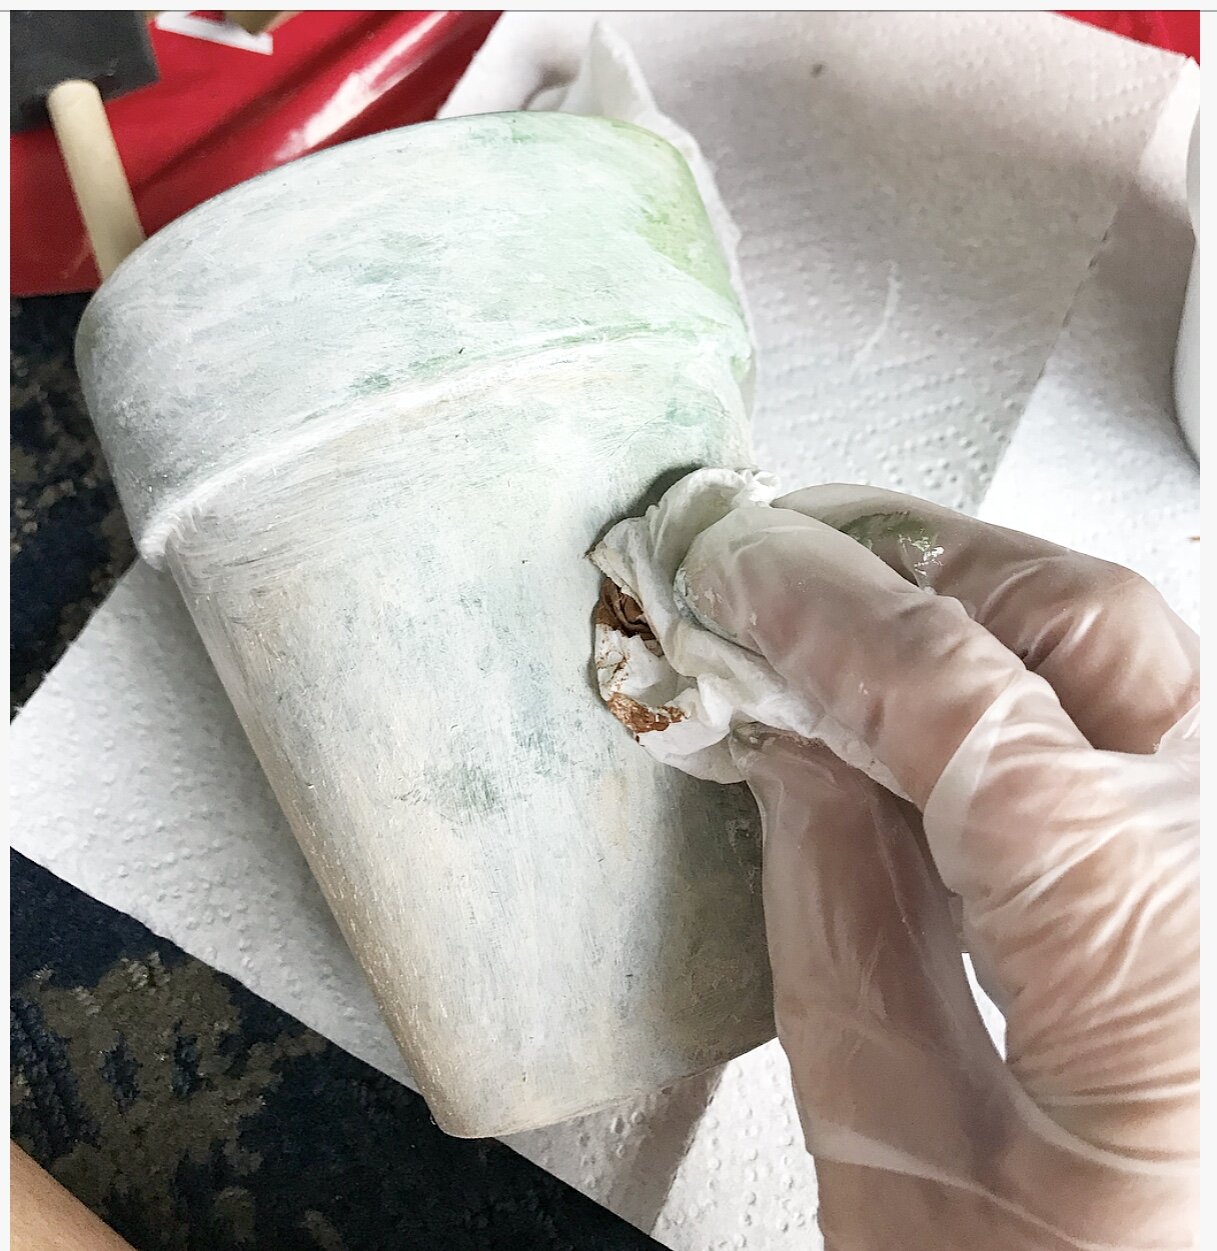
Because this method is intended to create a perfectly imperfect pot, you'll want to just keep playing with your paint and continue to add a variety of layers until you reach the "sweet spot" on your pot. ;) You'll know when it's just right. Painting layer after layer onto your pots will help to give beautiful dimension and the look of texture. They're fun and pretty and look great with any style!
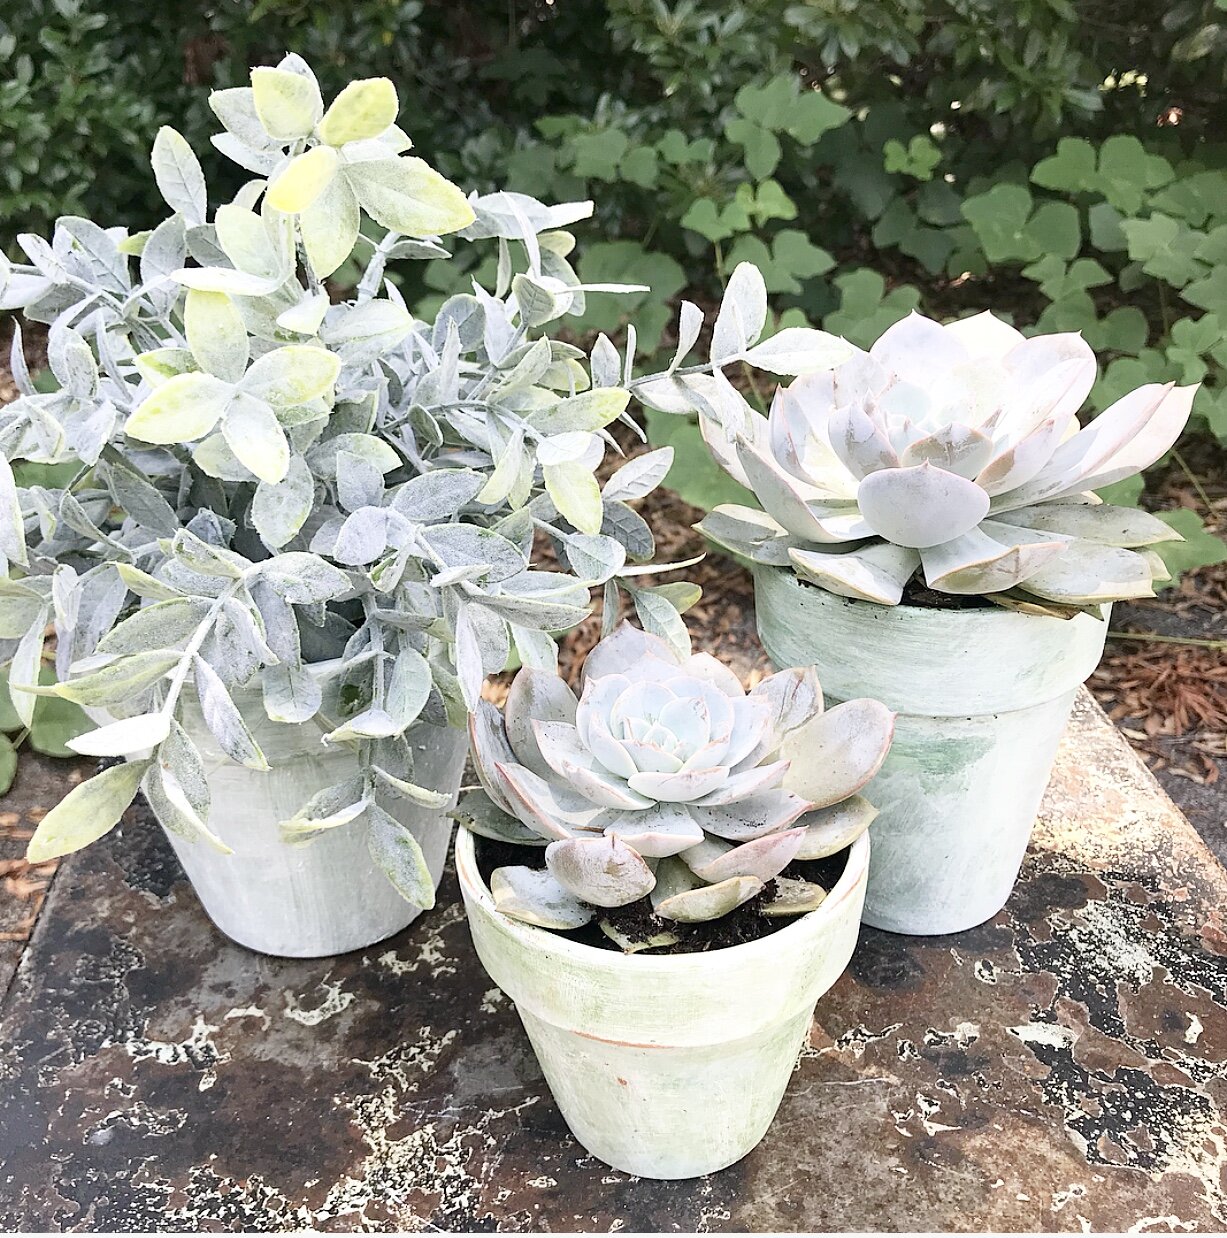
Here's another pot I painted using the same technique...

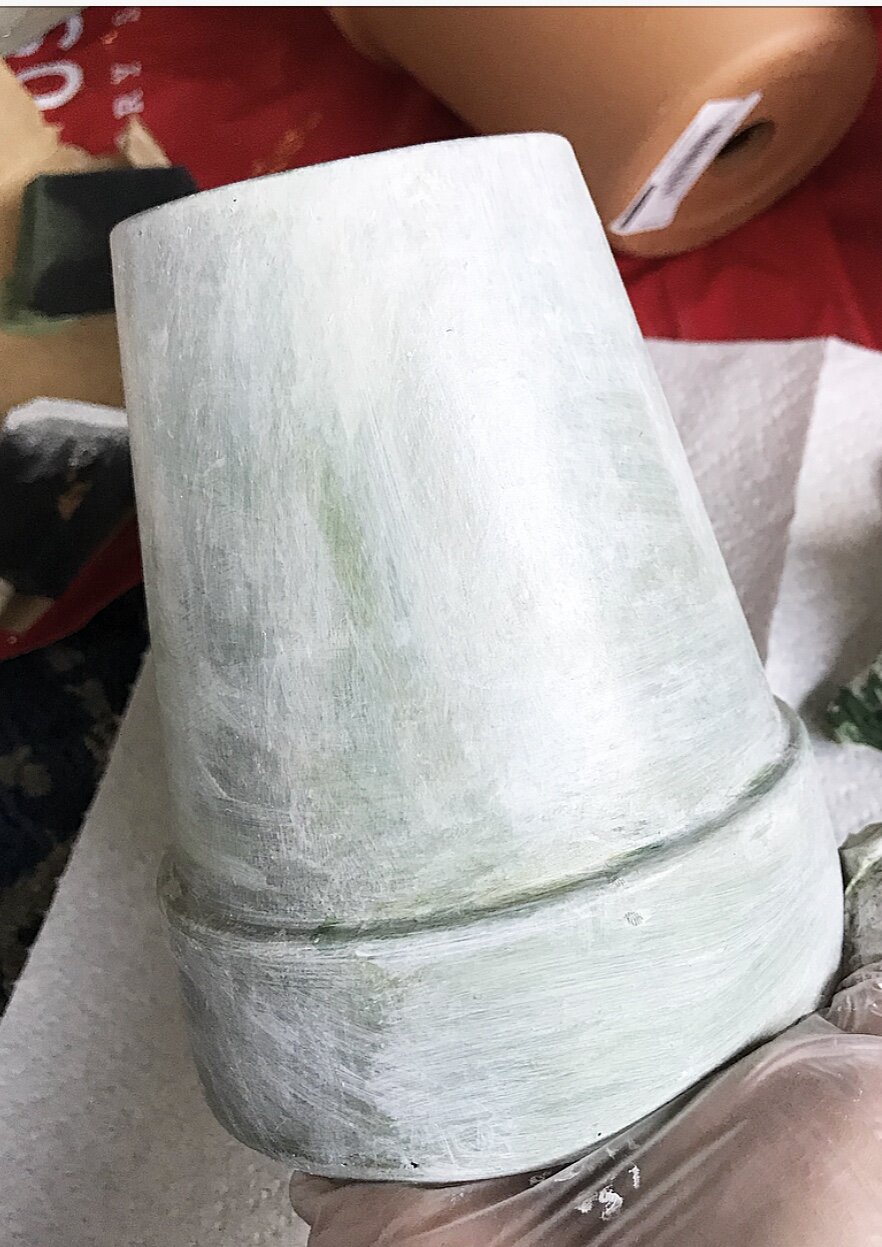
Also, to add a little more "texture," I lightly sanded one of my pots, but only on the spots where there's natural wear and tear, and it looks so good!

So, there you have it. A fun and easy project that even kiddos could do! If you'd like to watch how I made these "aged" pots, you can check out this video on my new YouTube channel -- @TheRusticBoxwood. (Please click here.) It's actually the very first video that's been posted to my channel, and I'd love it if you could stop by and say hey! I appreciate each and everyone of you! If you’d like to follow along with us and our latest happenings, you can find me on Instagram, Facebook and Pinterest, and I’d love for you guys to say hey. It always makes my day to hear from my sweet readers!
You might also like:
DIY, Color-Blocked Wooden Boxes using DecoArt's Extreme Sheen

